In this article we will provide an overview of the property details page, including all of the various tabs and information available.
Knowing how to locate a property's details and understand the information available to you will be critical in helping manage your customer accounts.
Once you have logged into FieldCentral, navigate to the Main Menu on the top left corner and select “Accounts”.
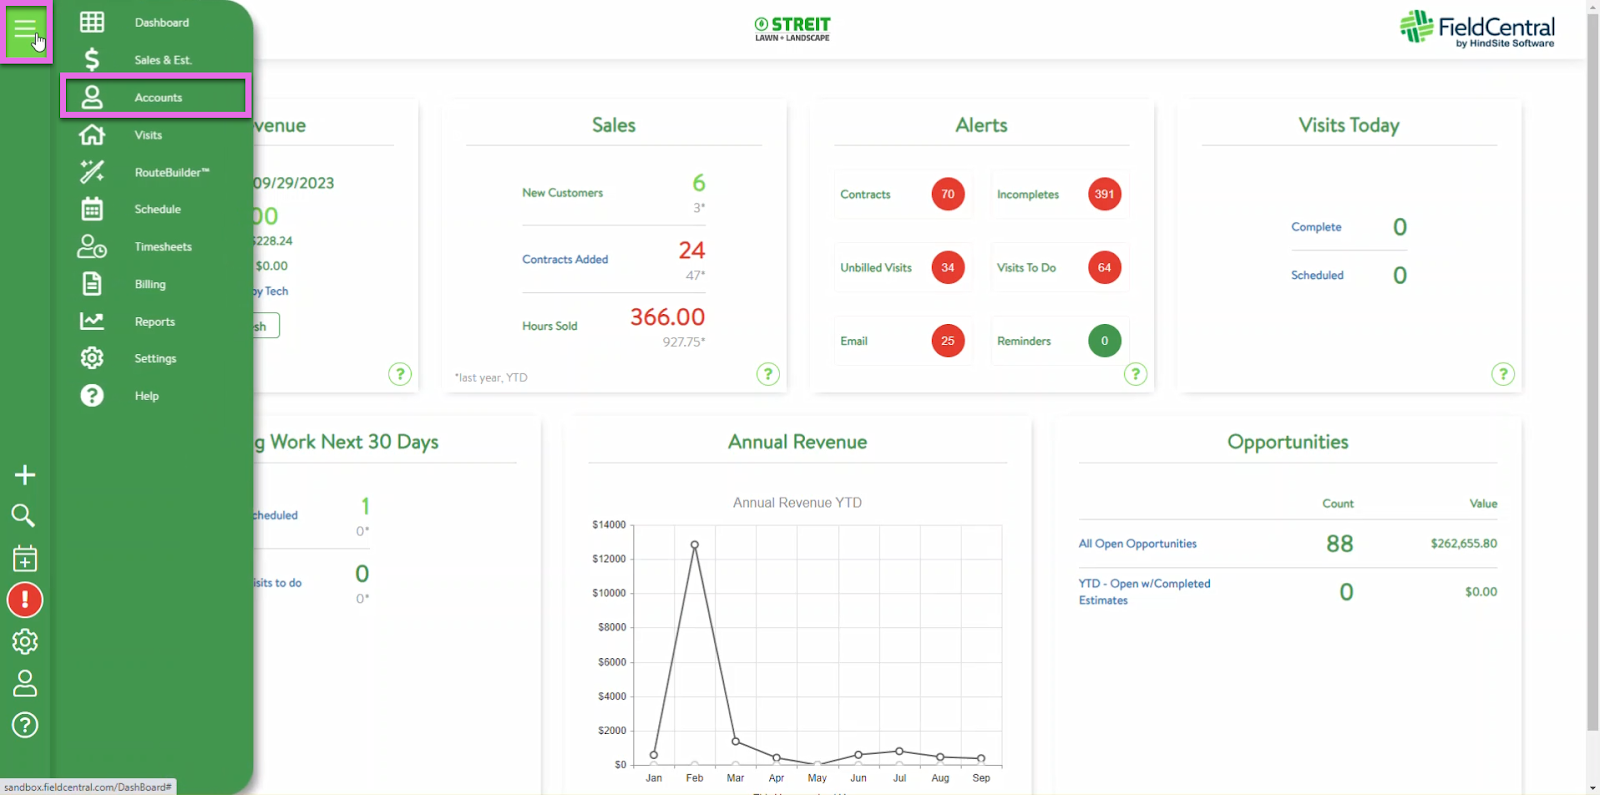
In FieldCentral, Accounts are categorized into 3 different types:
-
- Properties - The physical address where service is performed.
- Contacts - The people associated with Properties and Management Companies.
- Management Companies - Oversee service performed on multiple properties.
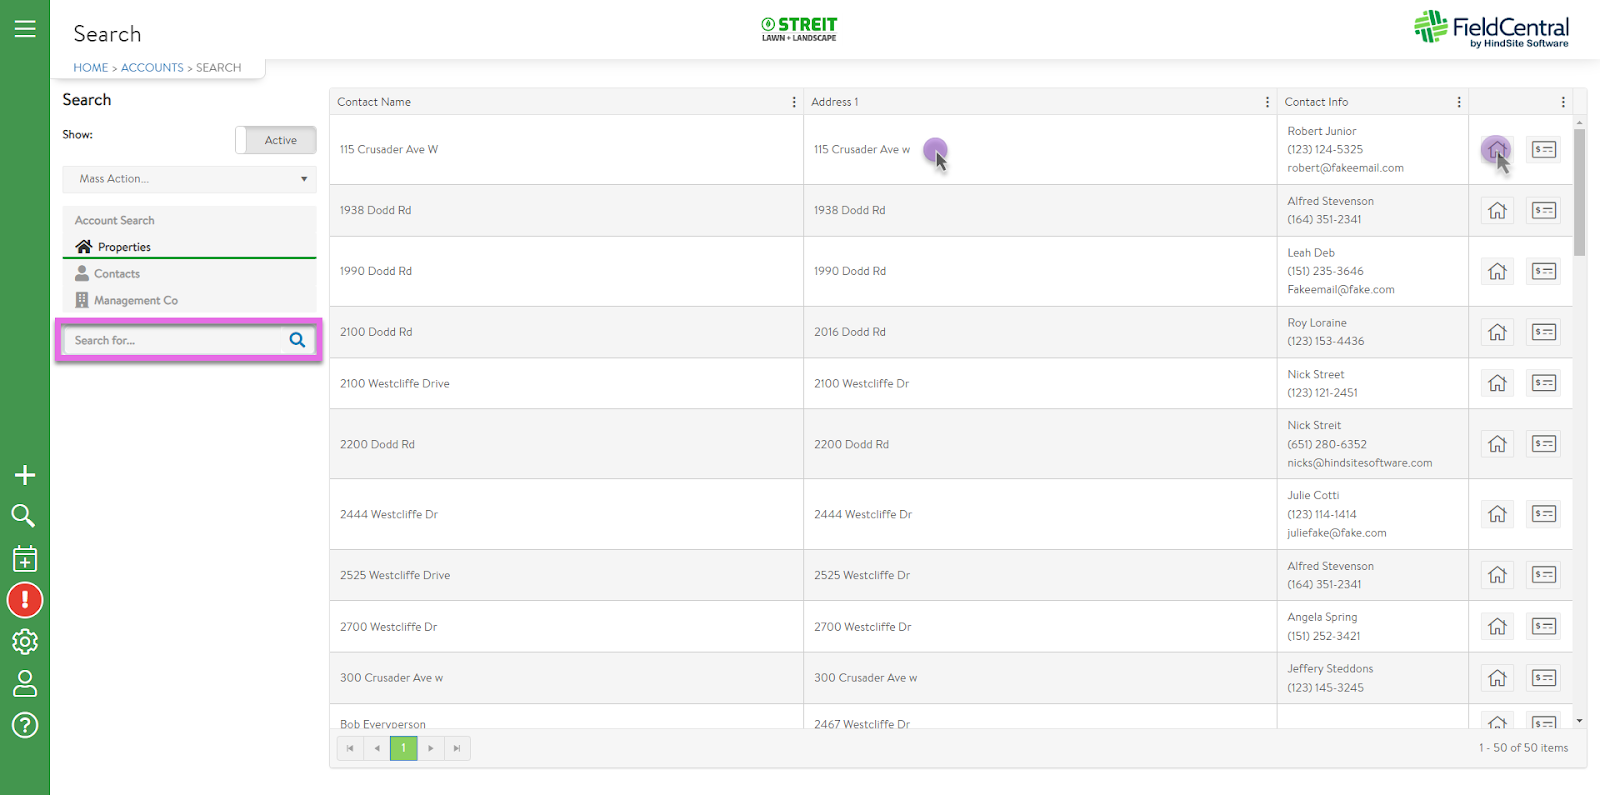
By default the property search should open, Once displayed, the search field can be used to locate the property you would like to look at. Once displayed, you can then either click within the property row or click the “view property” icon on the right side of the page.
In order to make any changes to the various tabs, the “Edit” button will first need to be clicked. If changes are made, it will be necessary to click “Save” in order for those changes to be captured.
Lets review each of the tabs available and what information is available to you within them.
Overview - The Overview contains some general information about the property including the service address along with which management company is associated with the property record.

Account links – Shows which contacts and/or management company contacts are associated with the property. You also determine which contact should be considered the default contact and which contact should receive the invoice via email from the account links section of the property account.

Billing – The billing section of the property account contains the billing address for the property. Additionally any percentage discounts for parts and materials, credit limits, or custom terms can also be set on the property level in this section as well.

Pricing – The pricing section contains the property specific pricing for service performed on the property. These records contain the amount of time required for the visit along with the flat or hourly rate specific to the service at the property.

Site – Available to provide property specific information via notes.
- Site notes – Contains general information about the property or the system at the property.
- Security notes - Contains information about accessing the property or things on the property. These note can include garage codes, gate keys, or even where a physical key may be located.
- Special notes - The special notes when entered will pop up on the scheduling screen when the property is selected for scheduling.
- Field notes - The field special notes will appear as a pop up to the user operating the field device when visiting the site to perform a visit.

Attachments – Can add attachments directly from the computer and add a file as long as it can be open on a mobile device. Select (Make available) “To Field” for the technicians to see.

Scheduling – The scheduling section of the property account allows you to set the scheduling preferences for each property.

Notes & Logs – Any changes that are made to the property will show who, what, and when those changes were made.

Visits Log – Displays the different visits for the property and also the canceled visits from that customer.

Service notes – For example: if a customer always needs a repair on something when you go there for a visit, you can set a Service note to have the technician check for repairs needed whenever they go for service.

Sales and estimating – See estimates or contracts for the specific customer.

UDF’s – Ability to adjust or review the information collected (number of zones, type of controller, and controller location).

Schedule now – Redirects the user to the schedule page. 
Be sure to review property details the next time you login to ensure you know all that this section of the platform has to offer.