In this article, we will cover how a FieldCentral user would add parts to their material categories.
Knowing how to add parts will help ensure data is accurate when logging parts/materials for visits and further down the line when running reports on what parts/materials were used and need to be re-ordered.
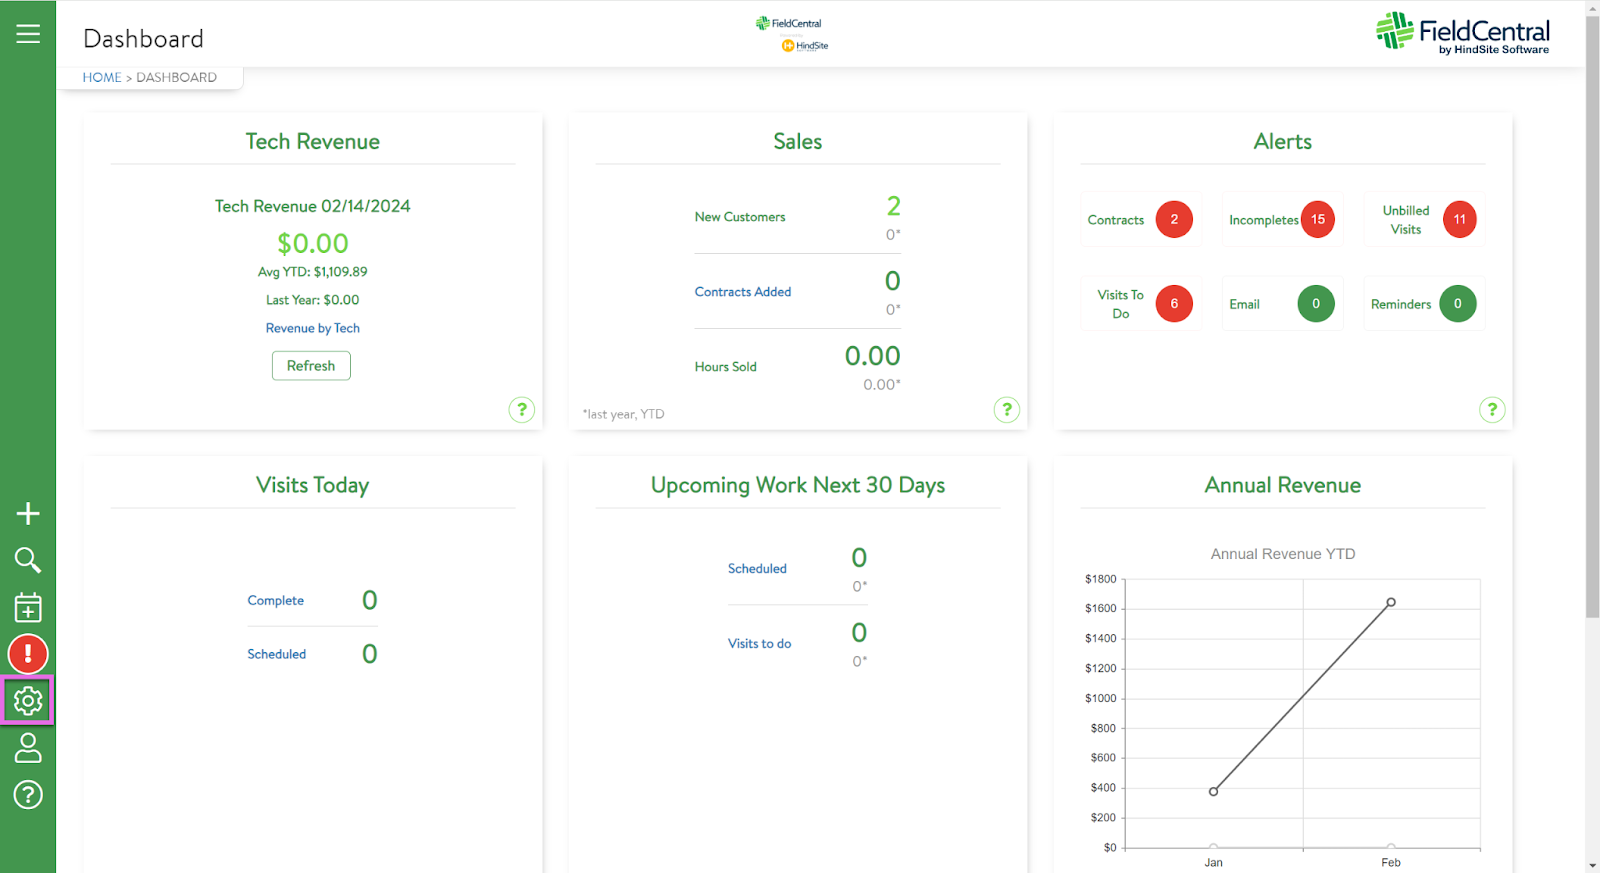
Once you have logged into your FieldCentral web account, navigate to the Setting page either via the Main Menu or the quick access panel.
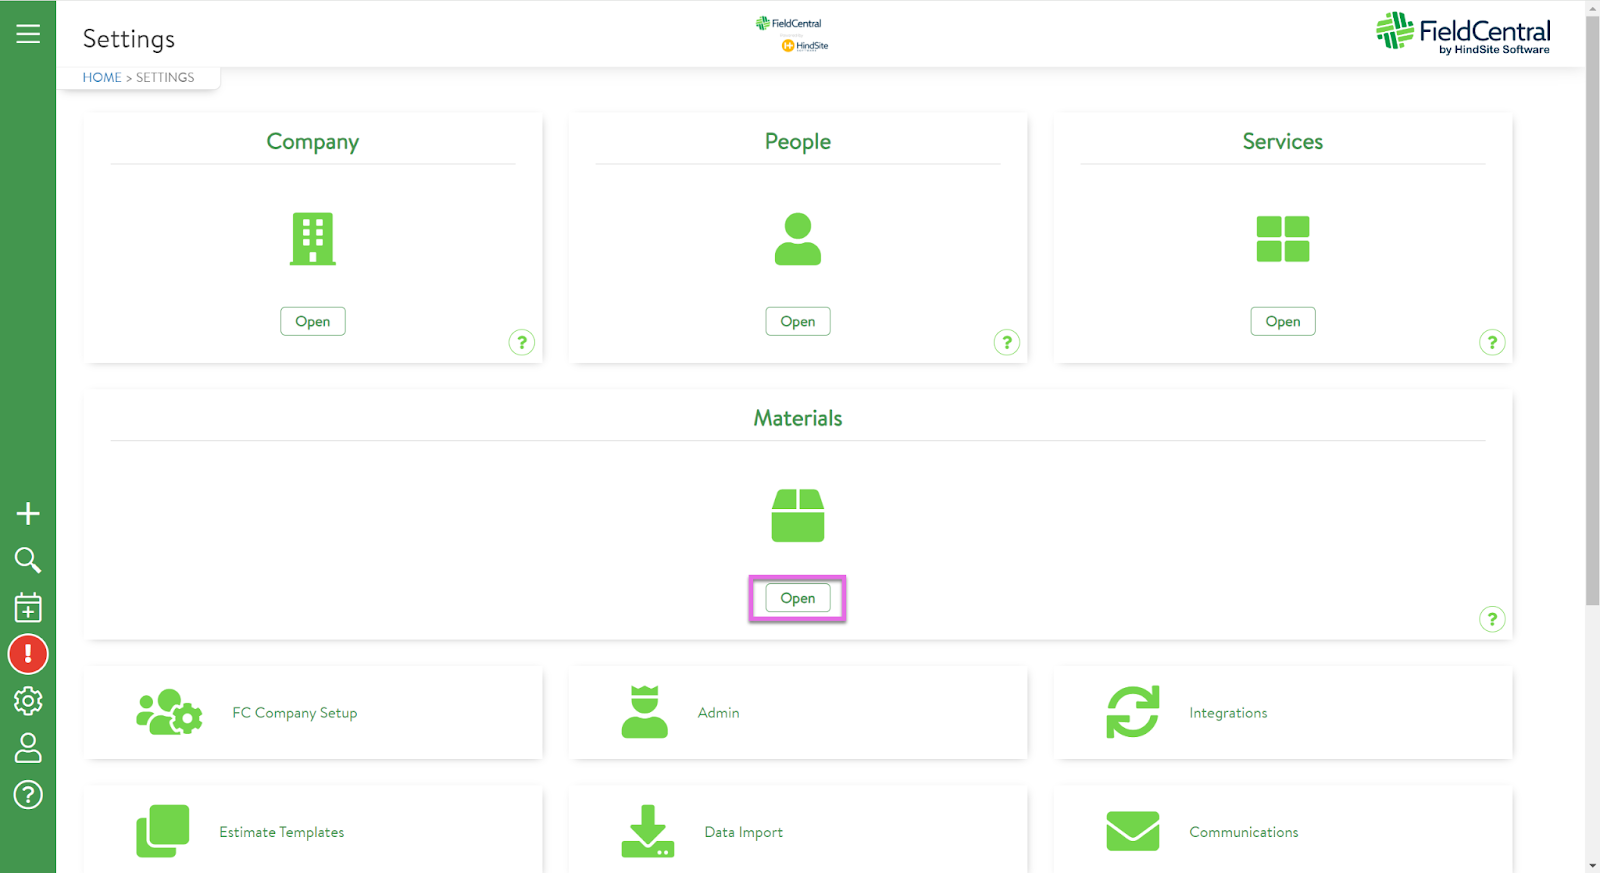
Select to Open Materials
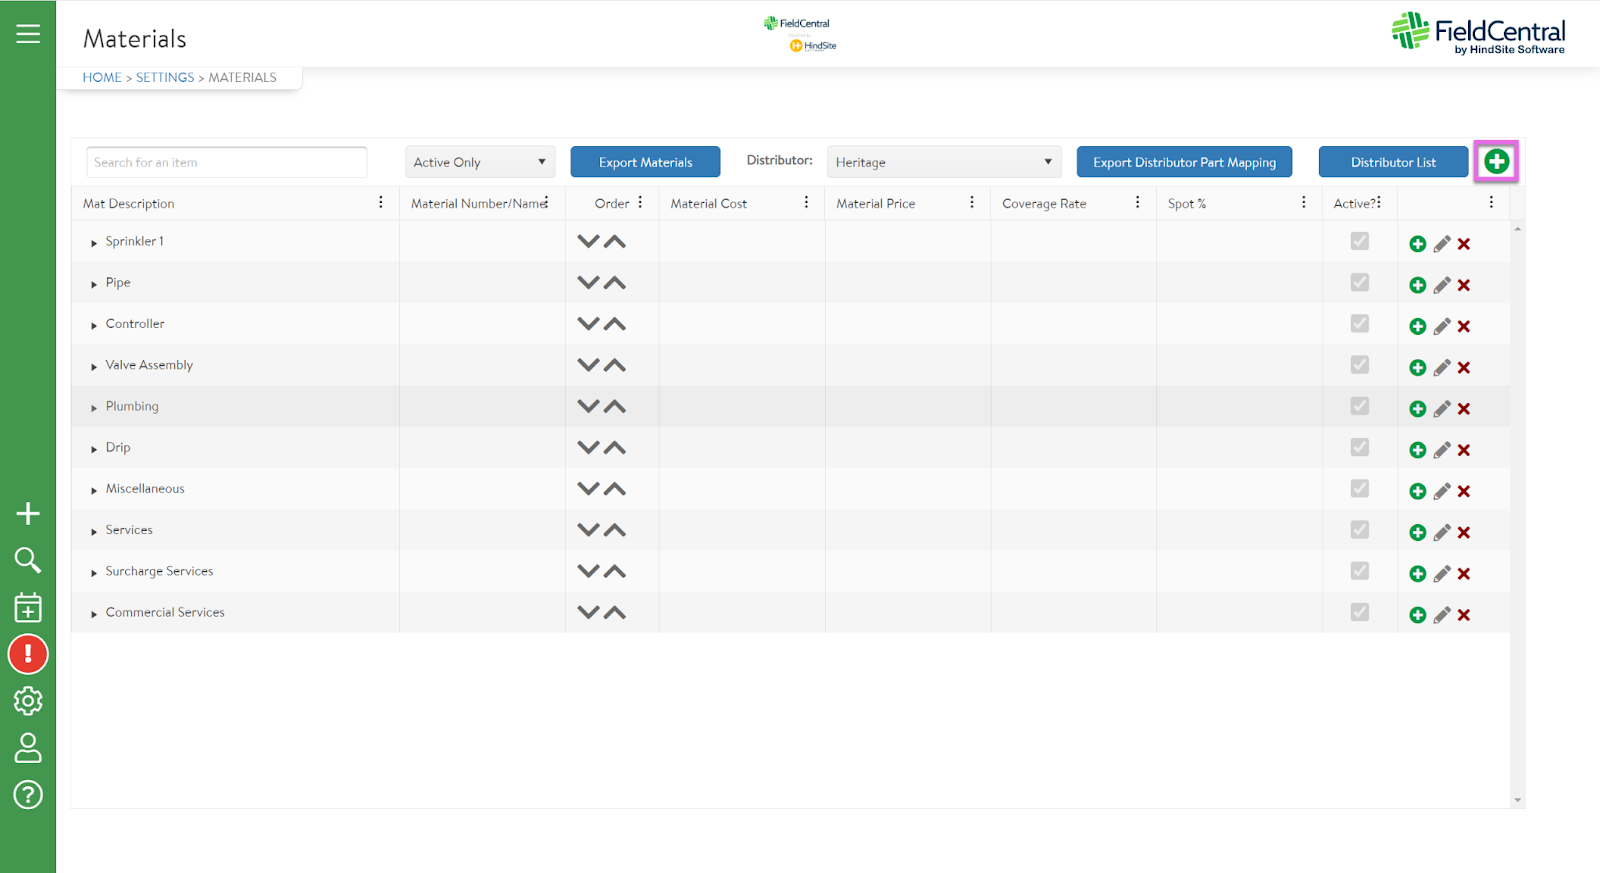
Click the “Add New Materials” green + button on the top right of the page.
Ensure that the “Type” selection is on “Material” and then utilize the “assigned to” drop down to determine which already existing materials category this part will belong to.
Once this selection has been made, continue by giving the part a name, description & price.
This is also where the user can provide the QuickBooks Full Name, if this part is taxable & disable discounts if desired.

For those in Lawn Care, there are a few additional fields they may need to complete depending on the parts being entered.
- Coverage Rate: How much the product covers in square footage
- Spot %: Placeholder for future feature- no current functionality.
- Unit of Measure: Ounces or Pounds
- Size/Rate: How much of the material/chemical in selected UOM covers that amount of square footage.
- EPA Number: Displays on the chemical usage report
- Target: What the chemical is targeting/used for (ex: crabgrass)

Once all information has been entered, the user will click “Save”.
For users that would like to import their materials from QuickBooks Online or QuickBooks Desktop, they would follow the below steps.
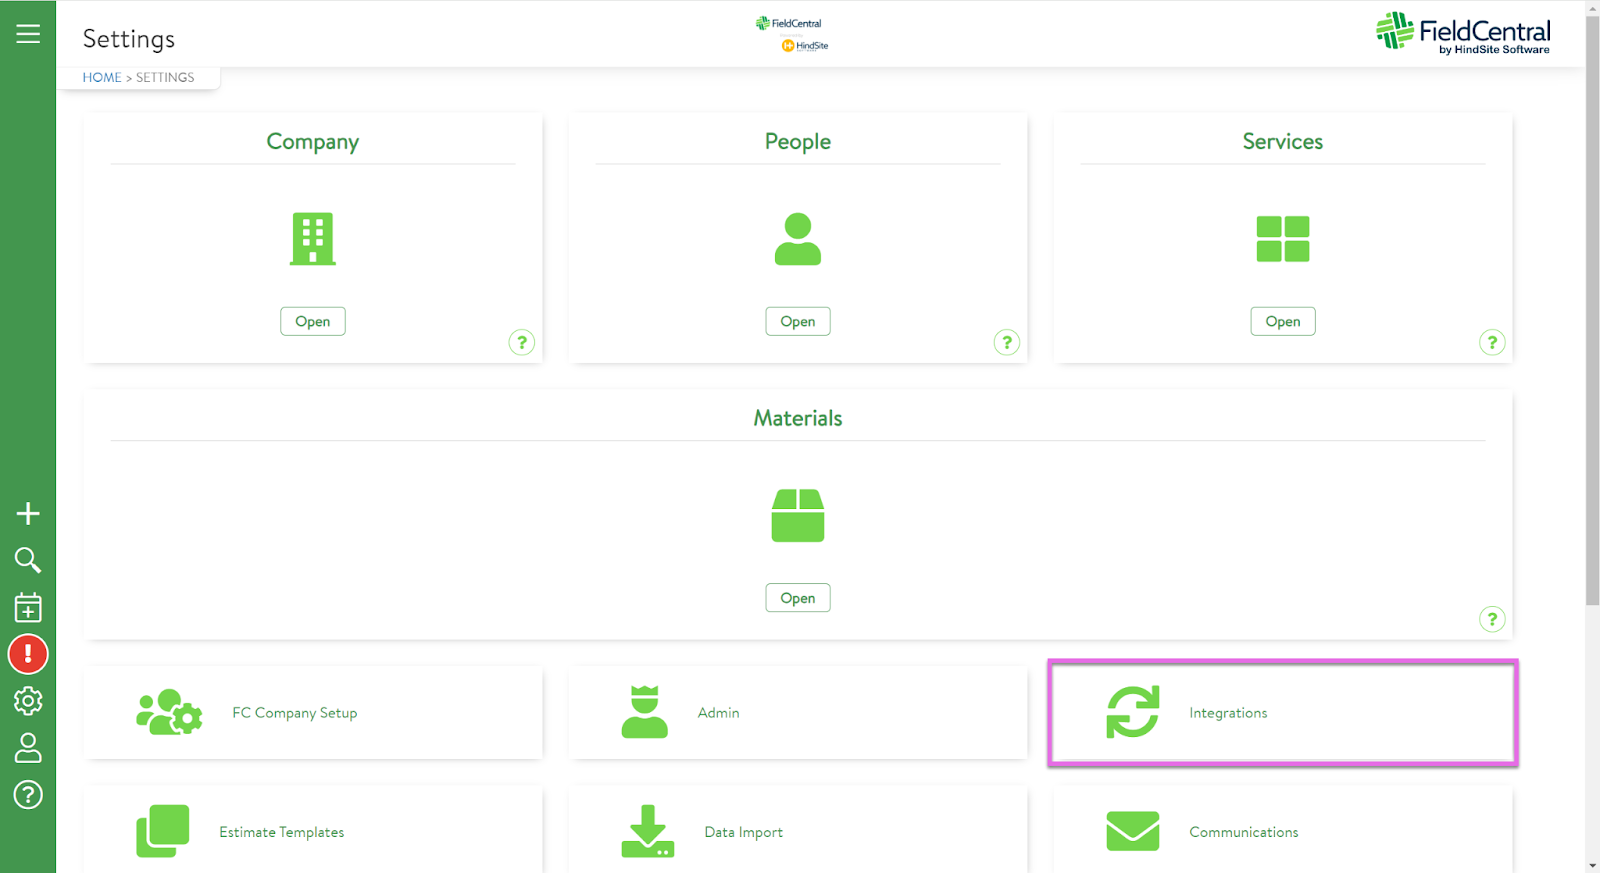
Navigate to the Settings Page via the quick access panel

Select “Integrations”.
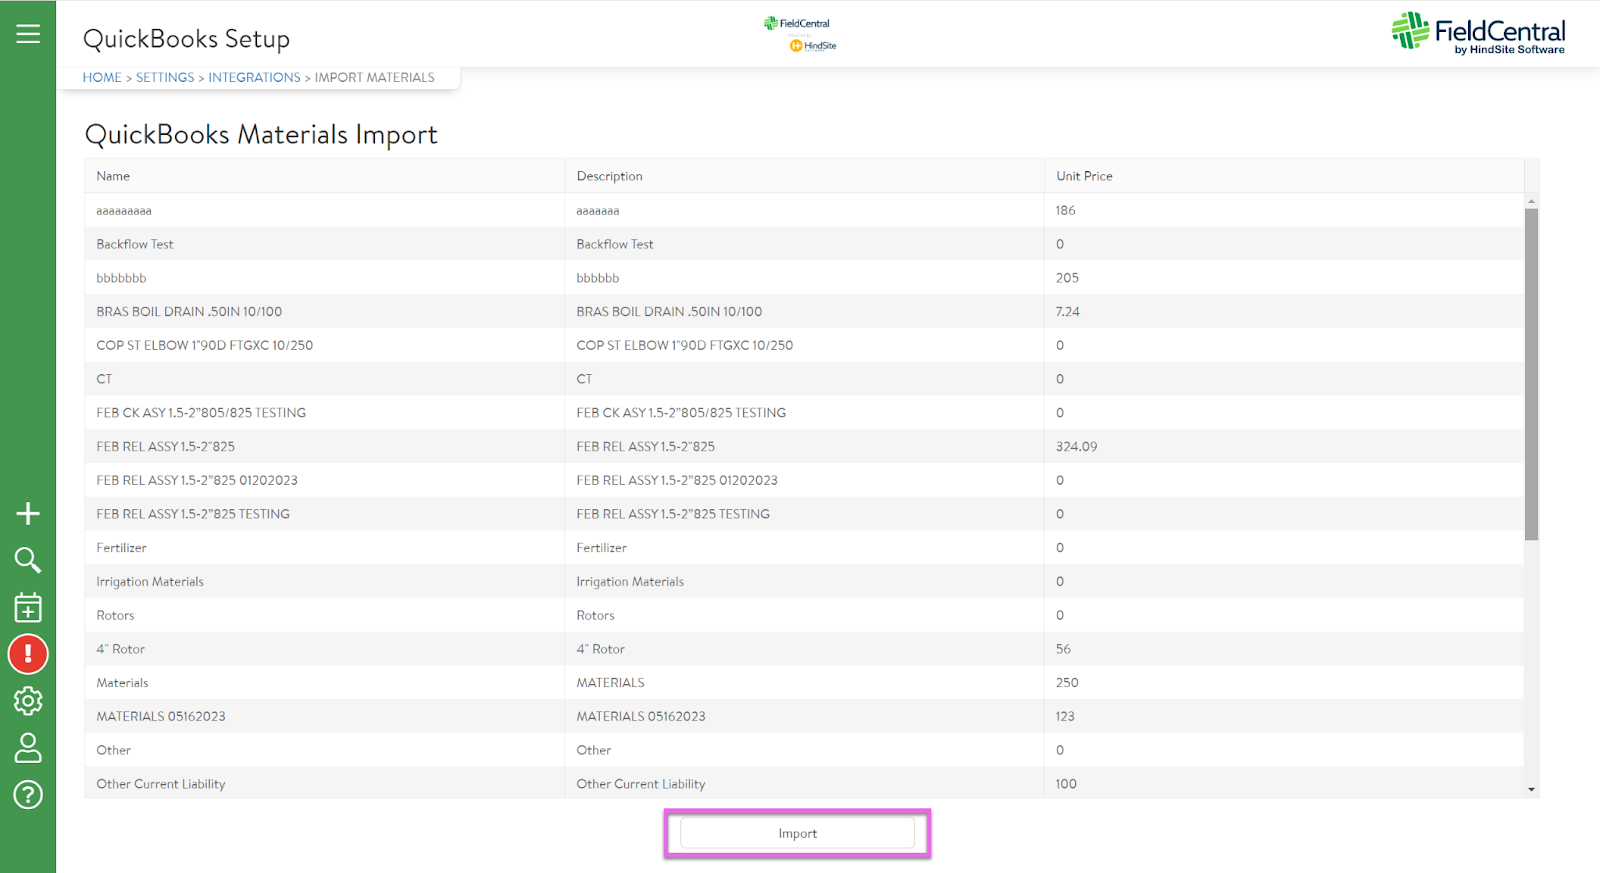
For QuickBooks online users: Click “Import Materials”.

This will bring users to the QuickBooks Materials Import page where they will click the “Import” button to complete the process.
For QuickBooks Desktop users, they will also open the “Integrations” settings where there will be a drop down menu to select their import.
Users will select “Materials” from the second drop down menu and then click “Import”

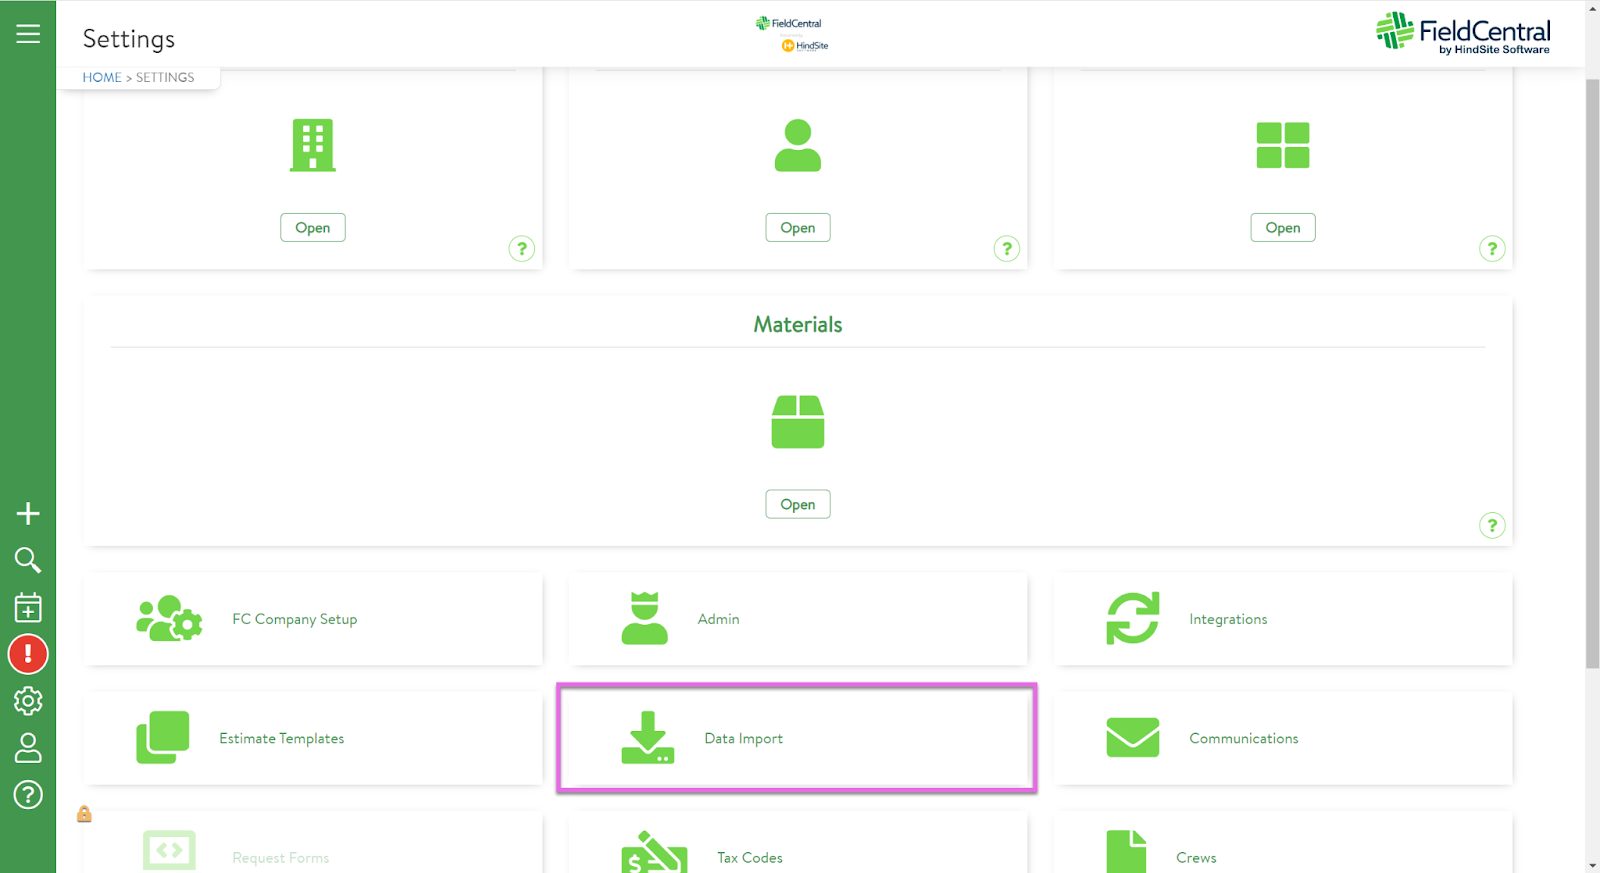
For users that would like to import via spreadsheet, navigate to the Settings page and select “Data Import”
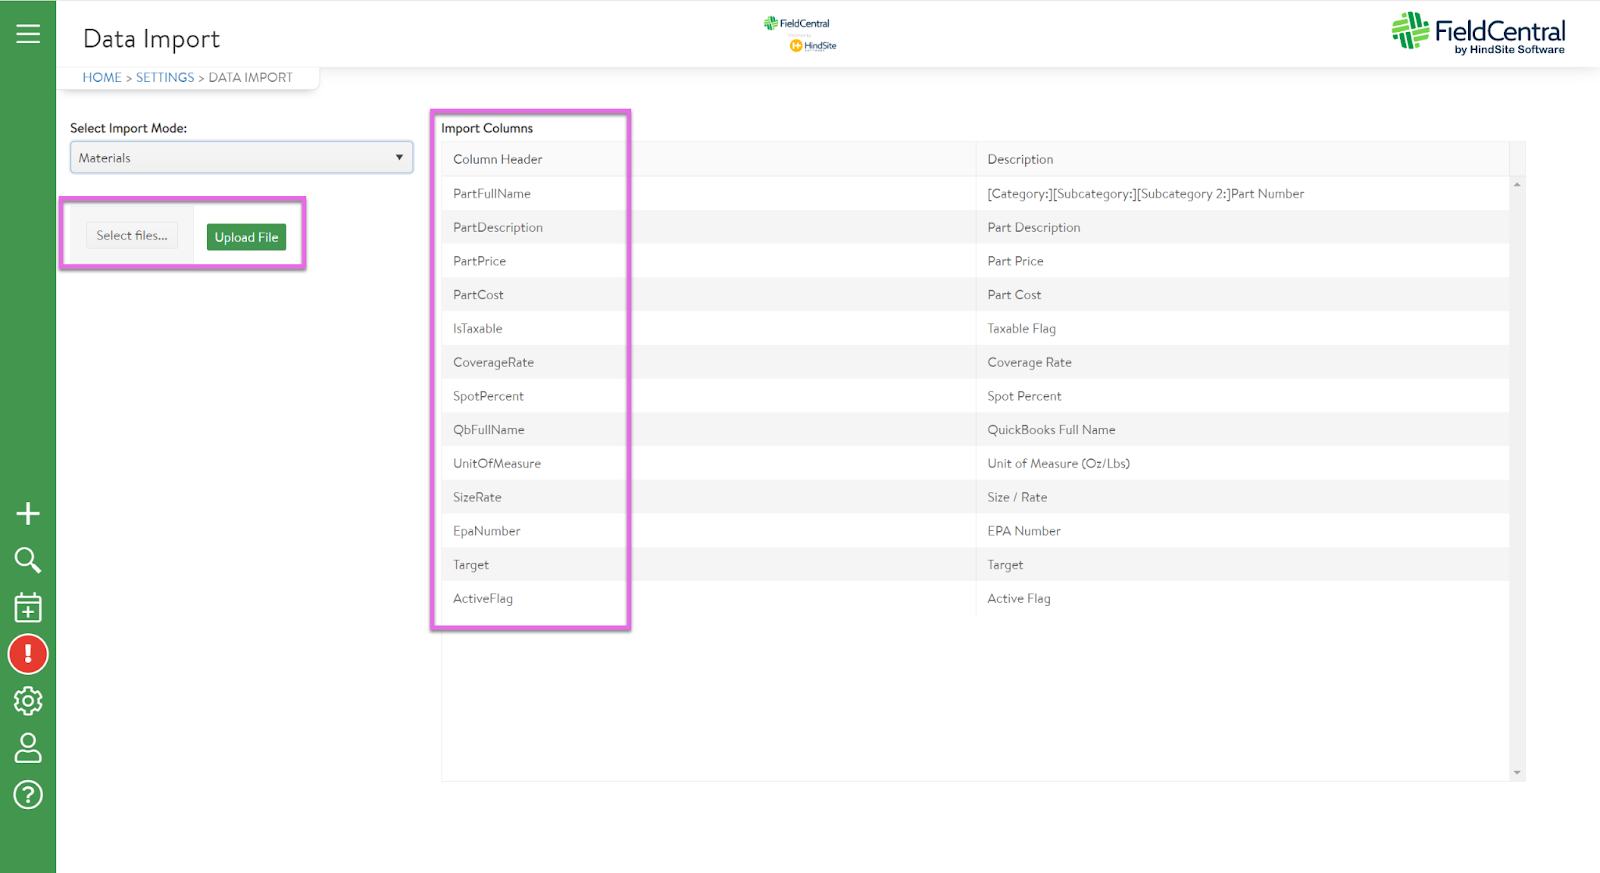
Select "Materials" from the drop down on the top left. Copy and paste the corresponding column headers into your spreadsheet and format accordingly.

Once the spreadsheet is formatted correctly, click on select excel or CSV file & then click “Upload”.
The user will be brought to an upload status page which will confirm when their upload is complete.