This article will go over the various steps associated with open estimates. These steps include configuring the estimate visually, methods for delivering estimates to customers, and the process of approving estimates to generate contracts.
Understanding this information will allow the user to adjust the estimate to include the information and verbiage needed on the estimate document as well as understand how to finalize a contract for the estimated work to be performed.
First, we must navigate to the Sales & Estimates portion of the program. You can do this by clicking the main menu in the top left corner and select Sales & Est.

From here we will open the Estimates & Opportunities section to view all estimates.

From here, we will use the filters to find an open Estimate that has not been approved and click the Dollar tag to open the estimate.

Once the estimate is displayed, click the edit button and then click the configure estimate formatting tab on the left-hand side to open the estimate configuration. By default, the columns section will display.

In this section the user can toggle select fields to be included or excluded from the estimate document by adjusting the active checkbox. Additionally, you can re-name certain columns to adjust the verbiage of the fields included on the estimate document.
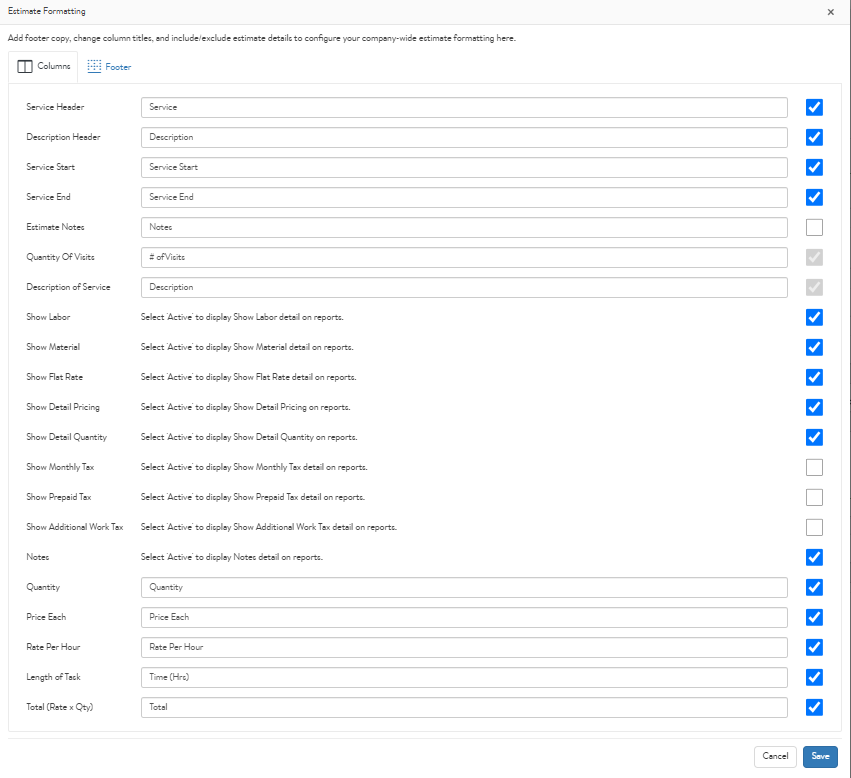
After adjustments are made to the columns, you then can click the footer tab and add footer text to the estimate if needed. (NOTE: the footer text will only appear on the estimate document if the include in reports option is selected.)
Once all the needed configurations are set, you would then click save to finalize the estimate configuration.

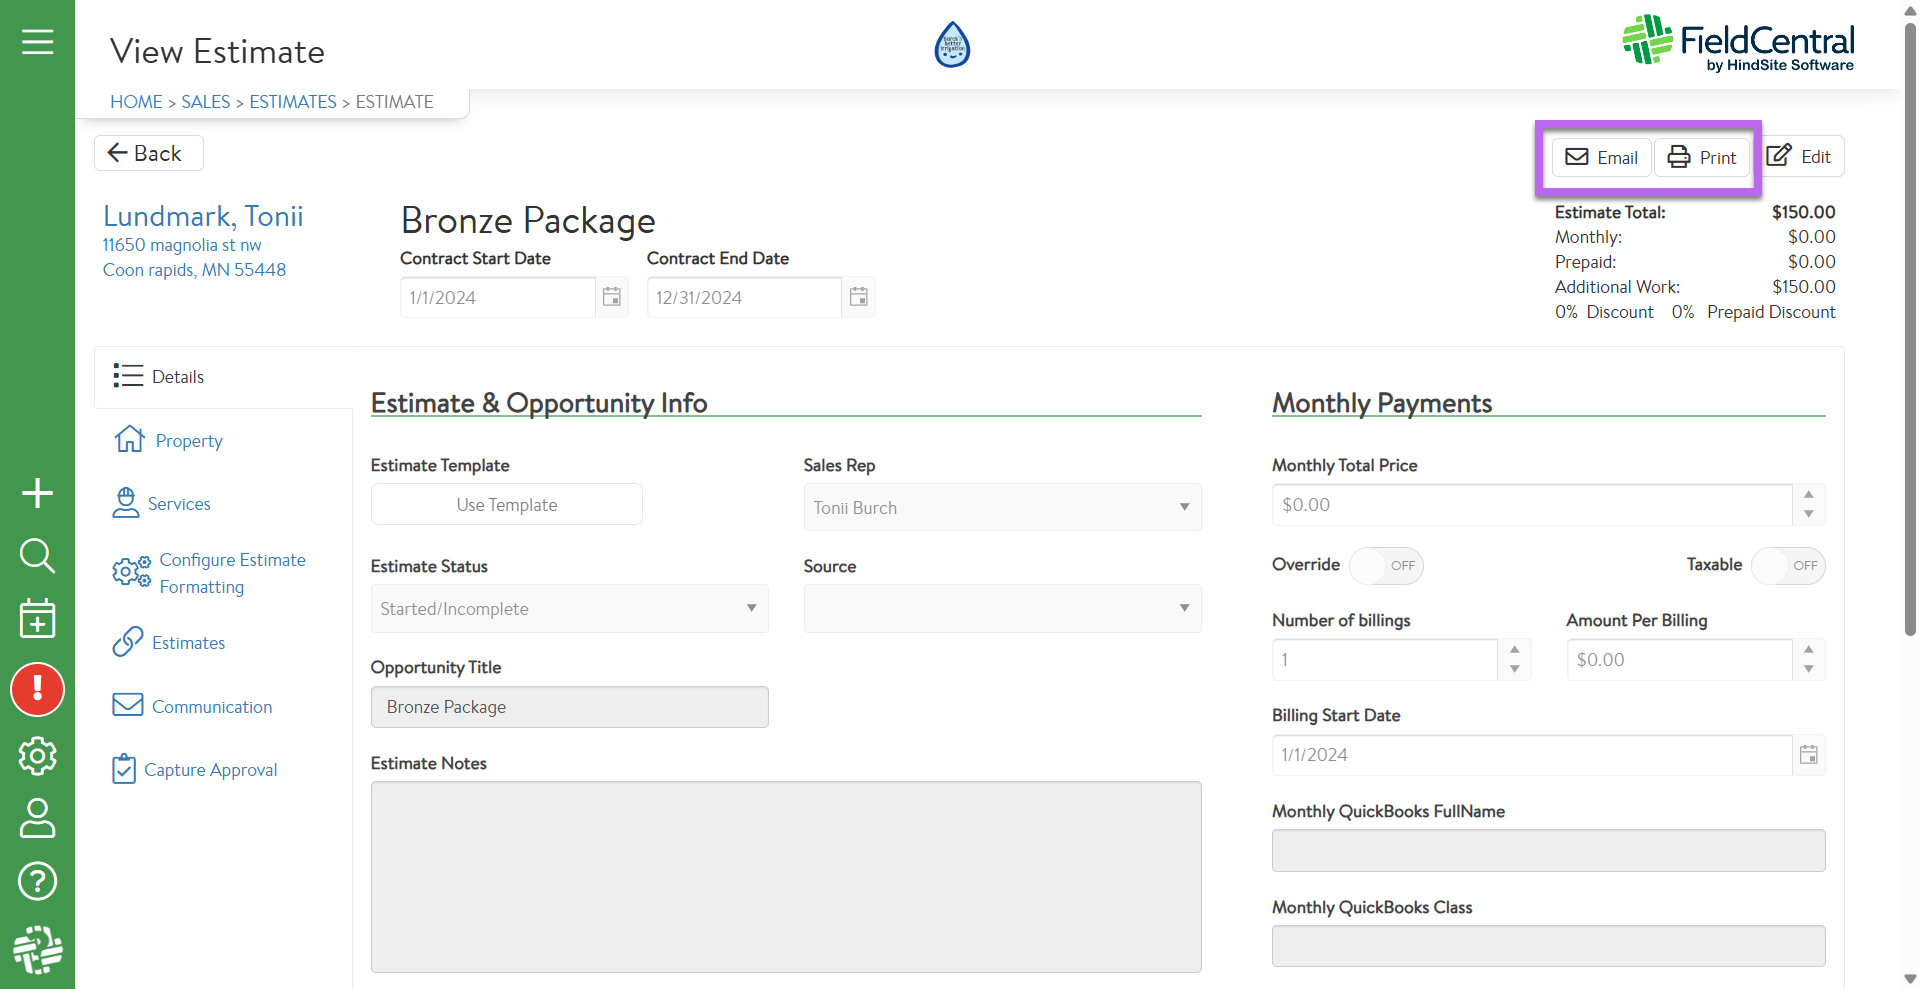
Once saved, you can click the print button at the top of the screen to review the estimate. If delivering the estimate physically, you can print the estimate from the preview screen.
If enrolled in FieldCentral Connect, you can also deliver the estimate via email by clicking the email button at the top of the estimate screen. Once clicked, the user can select the email template they would wish to use, and the estimate document would be attached to the email sent in a PDF format. For more information on setting up your emails for estimates, please see our Sendgrid Estimate Email Template video.