This article will cover how a user will connect a distributor to their materials list within FieldCentral via manual entry and via import.
Once the user has logged into FieldCentral, navigate to the “Settings” page.
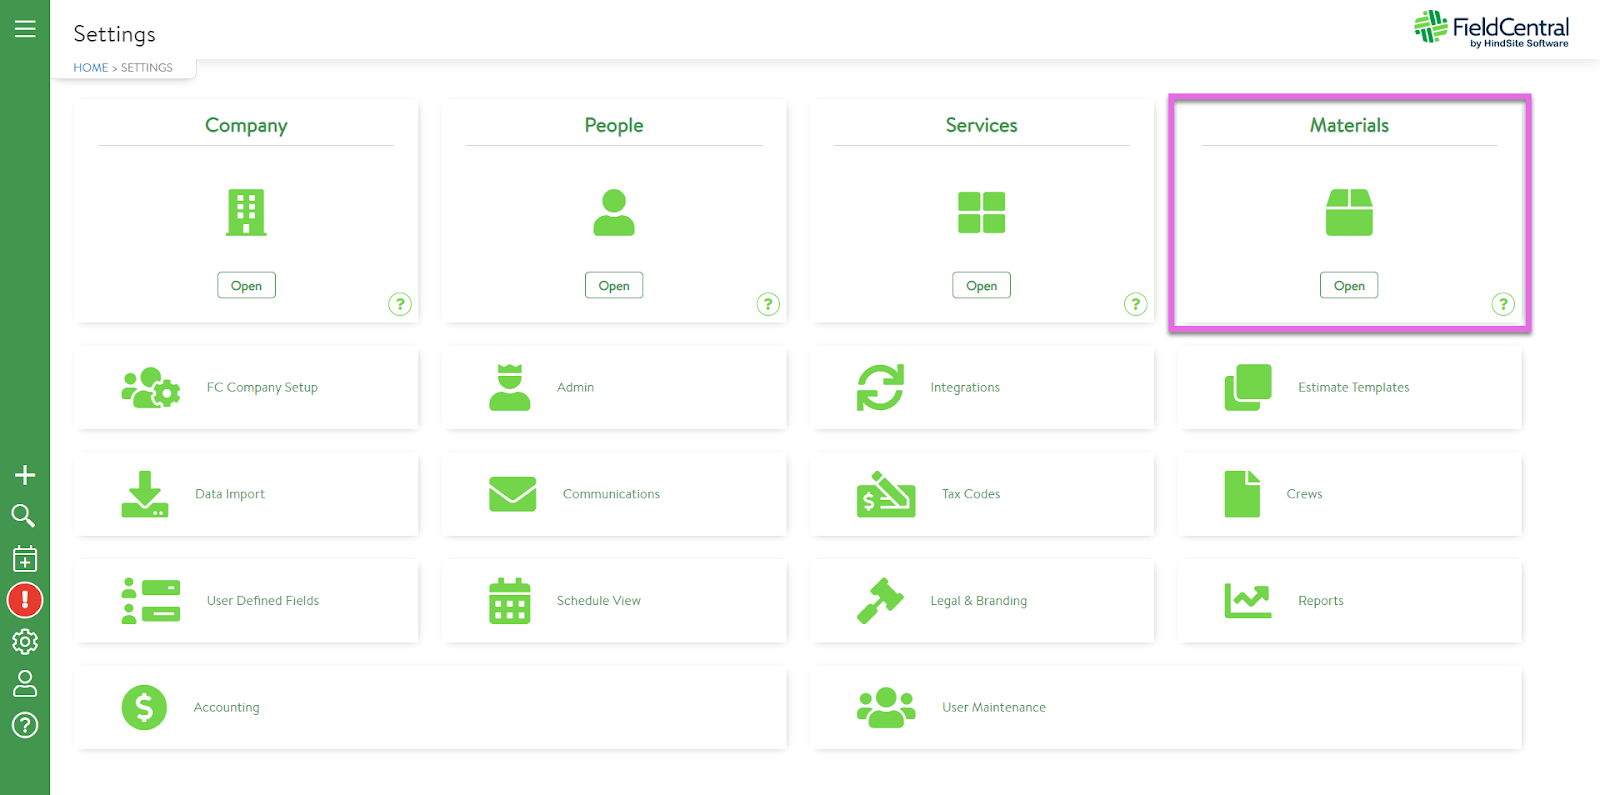
Then select “Materials”.
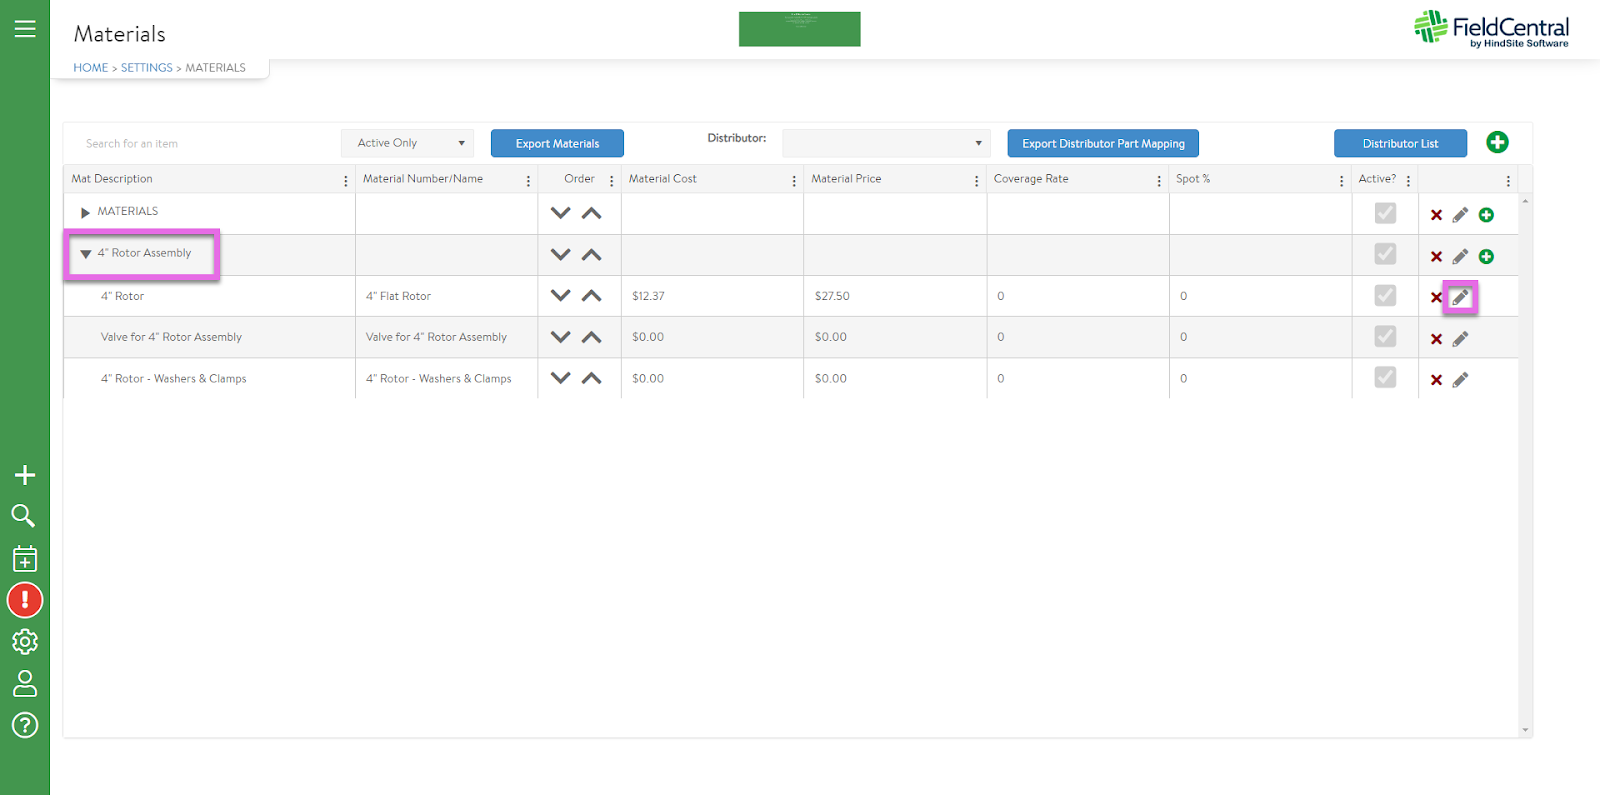
From this page, the user will be able to export their material list, add a distributor, map a distributor and their part number to a material item, and edit/add materials.
Additionally, once at least one distributor and part number has been mapped to a material item, the user is able to select that distributor from the drop down menu and “Export Distributor Part Mapping” which will expedite the import process as it follows the same format needed.
Lets begin with first adding a Distributor and manually mapping them to a material.

To begin, the user will first need to add a Distributor by selecting “Distributor List”, then select the green + button. Provide the name of the Distributor and then click “Add”.

Now that the distributor has been added, the user will use the arrows on the left side of the page to open the material category and then select the pencil icon on the specific part/material in order to edit.
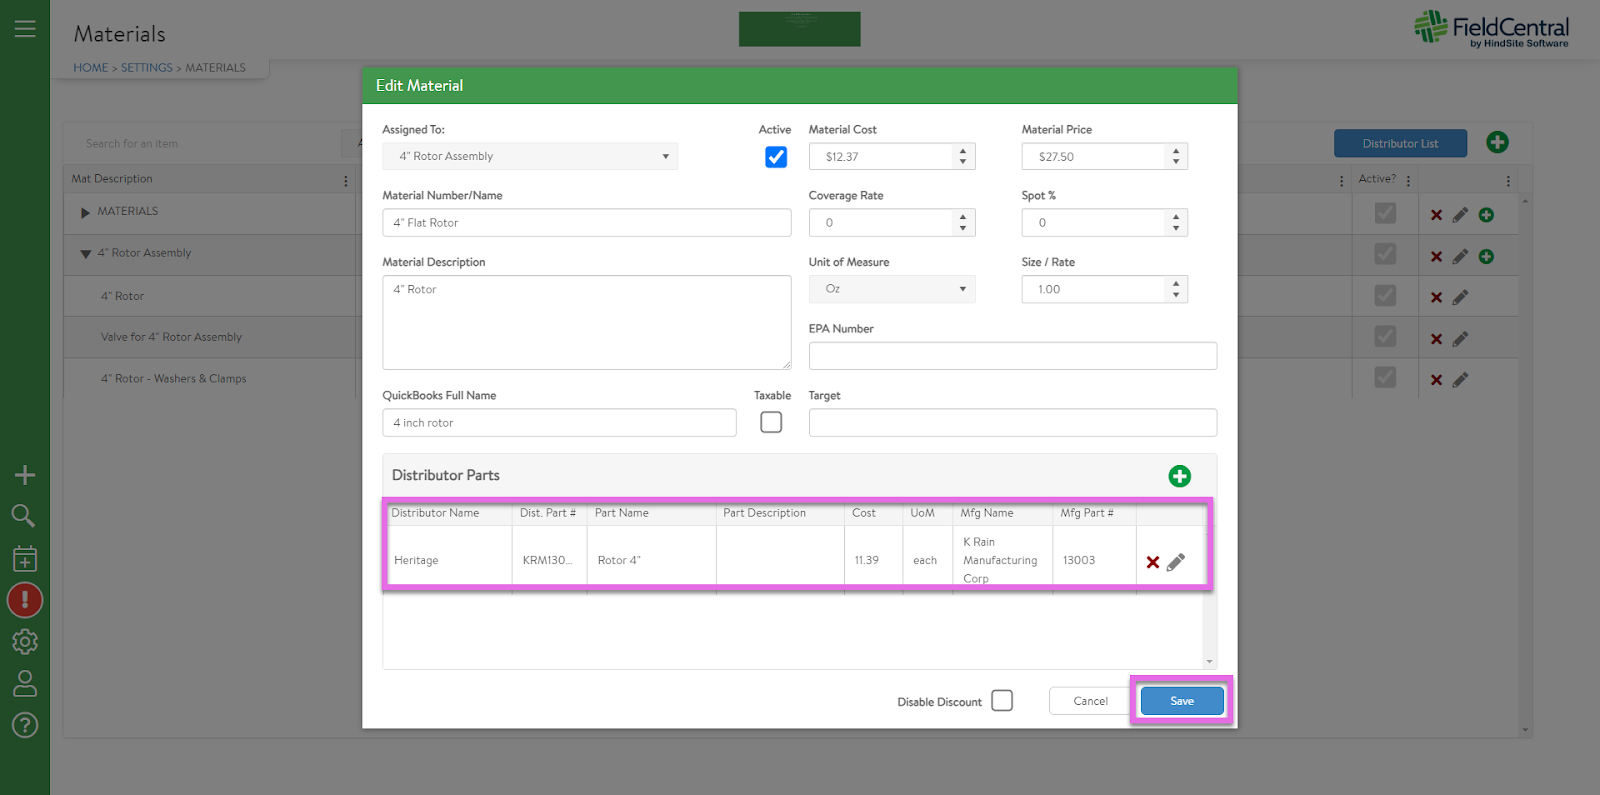
Within the “Edit Material” window, the user will click the green + button to map to a distributor part.
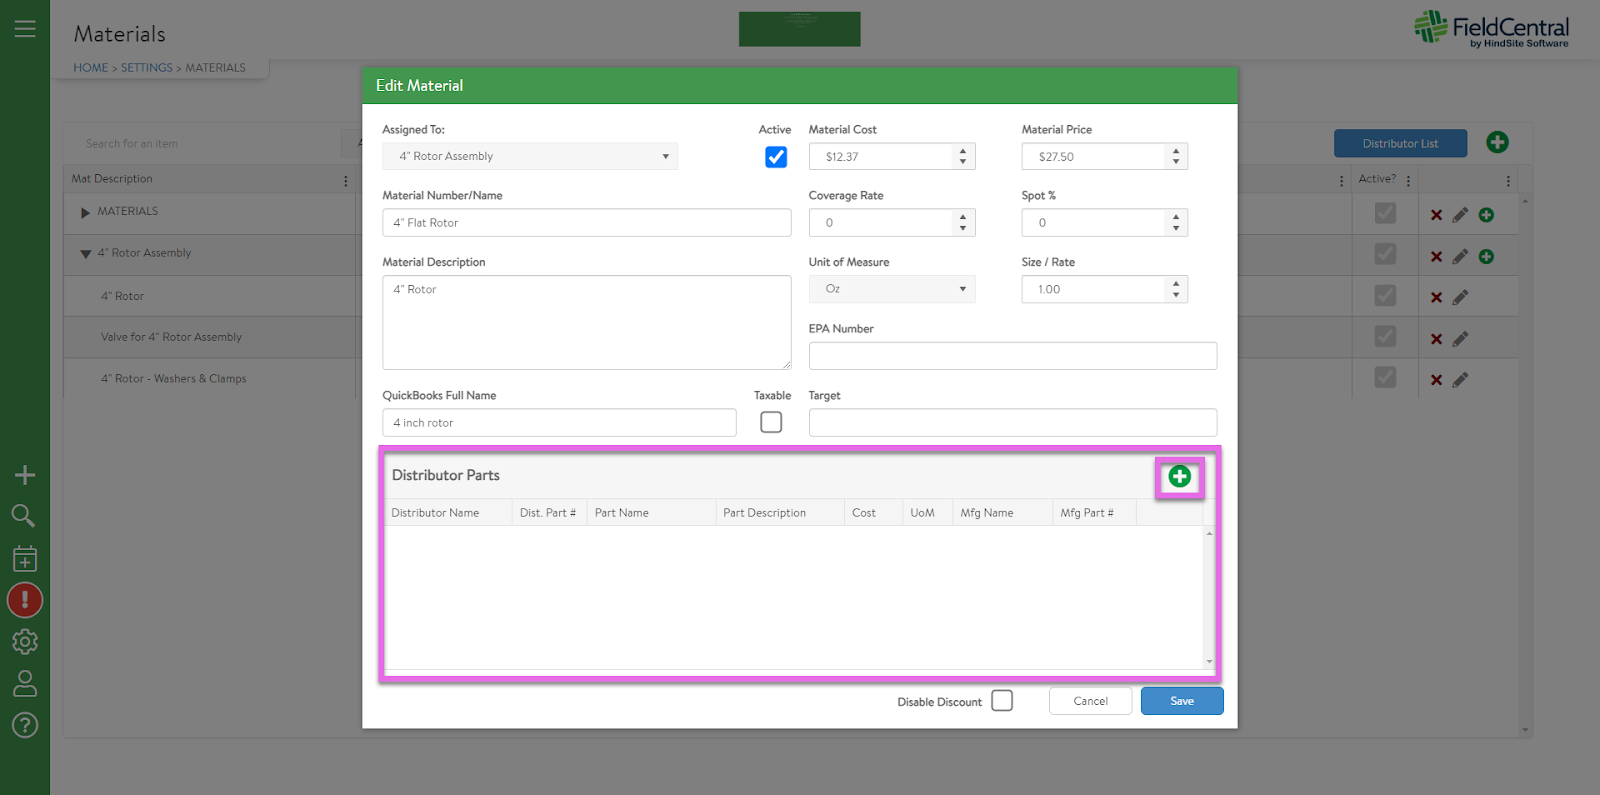
Within the “Add Distributor Part” window, the Distributor drop down will automatically fill in the distributor if only one distributor was added to the Distributor List. If not, the user will need to select the appropriate distributor from the drop down provided.
Complete the process by providing the distributor part information which can likely be found via the distributor website and the click “Add”.

Now, this specific material within FieldCentral has been mapped to the distributor with the appropriate distributor part number.
Once the user has added at least one distributor part to their materials list they will be able to select that distributor from the drop down menu and then “Export Distributor Part Mapping”. This will not export all materials with that distributor until others have been mapped accordingly. However, users can utilize the spreadsheet to complete their mapping as it is already in the format they will need for importing.
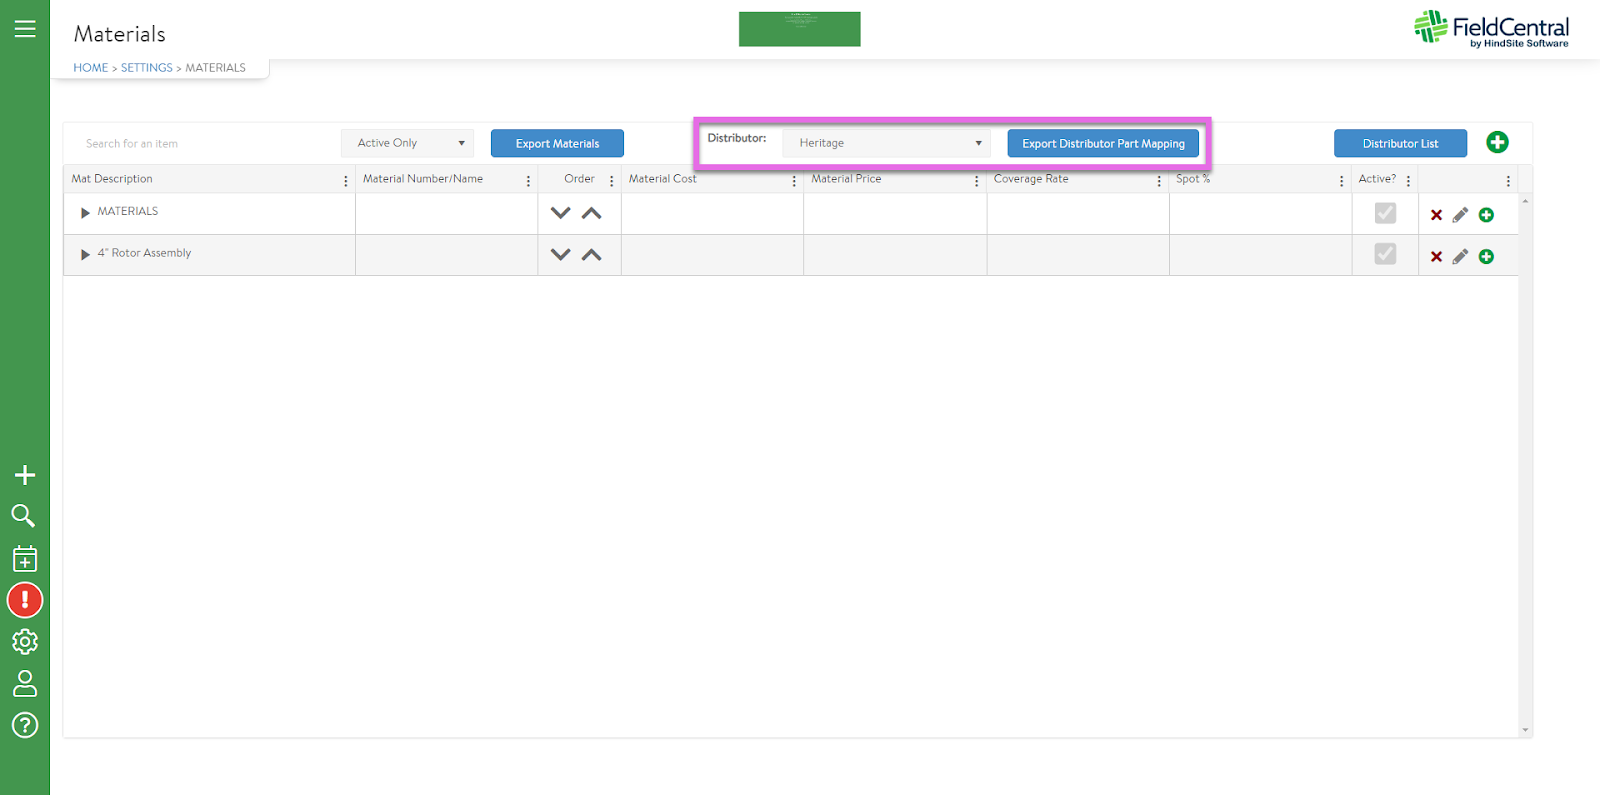
“Export Distributor Part Mapping” will download an excel file which the user can then fill in with other material/distributor information and then use this file to import the full list to complete the distributor mapping process.
*Please note that each import file will need to be specific to one distributor.

To get a full list of materials in FieldCentral, and specifically the list of “PartFullName” values, use the “Export Materials” button and then take the “PartFullName” column and paste to the previous document “Export Distributor Part Mapping”
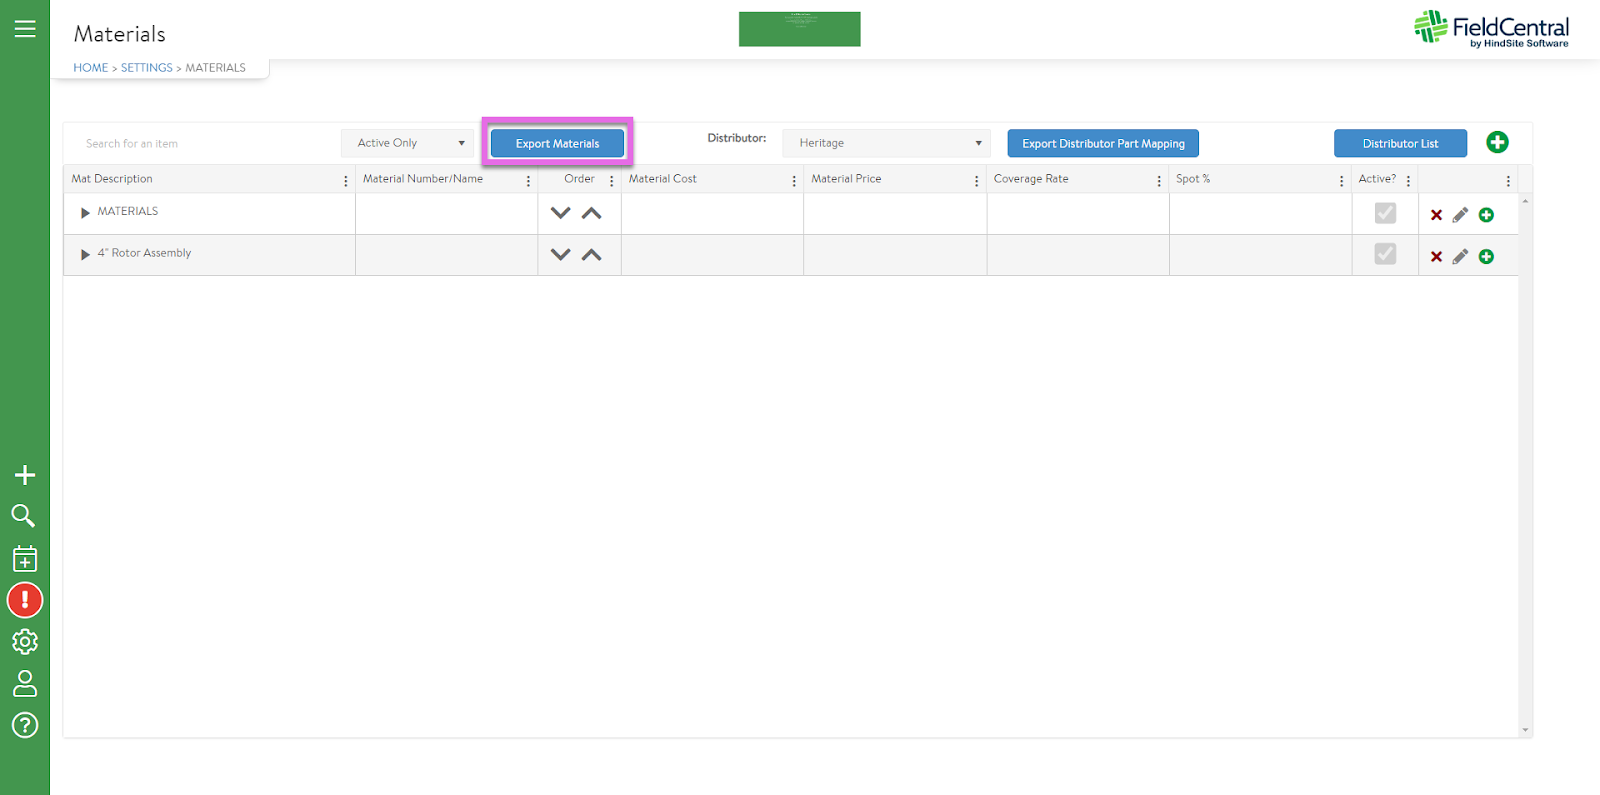
“PartFullName” column from “Export Materials” doc

Pasted into the “Export Distributor Part Mapping” column.
From here, continue to fill in the rest of the distributor information as it pertains to the material list.

Once the file is ready, navigate to “Settings” and then “Data Import”.

Select “Distributor Parts” from the drop down menu. Use the column headers provided to ensure the spreadsheet has all appropriate fields and will upload properly. Once satisfied, select the completed file and upload.

Once the upload is complete, the distributor and other information will be added/mapped to the identified materials.
Check out the quick video below!