If you have already elected for our Stax add-on feature or you are new to the feature, below are our recommendations for merchant/invoice settings.
These best practices are to ensure that when you send payment links/invoices via the schedule page in FieldCentral you are maintaining your own brand consistency and data integrity.
After you have logged into your Stax Merchant account, navigate to the “Settings” tab within the left hand panel.

In the “Settings>Account” tab, you can update your Display Name. We recommend ensuring that this matches the name of your company as you would like it to be represented on customer invoices.

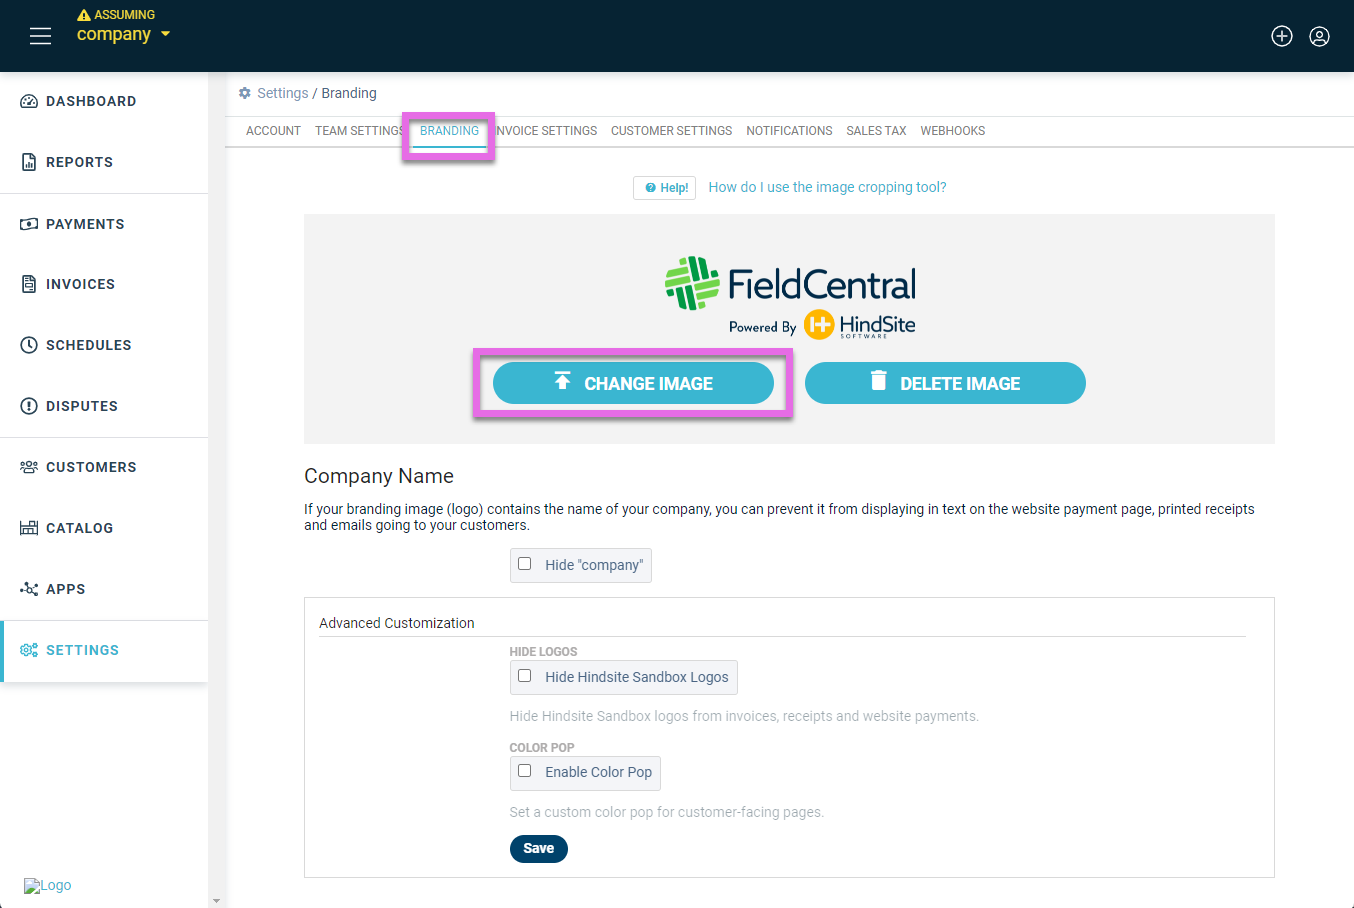
In the “Settings> Branding” tab, we recommend uploading your company logo as you would like it to appear on customer invoices. You can do this by clicking the “Change Image” button. Once you have uploaded your logo, be sure to utilize the crop tool to ensure that the entire logo is visible.
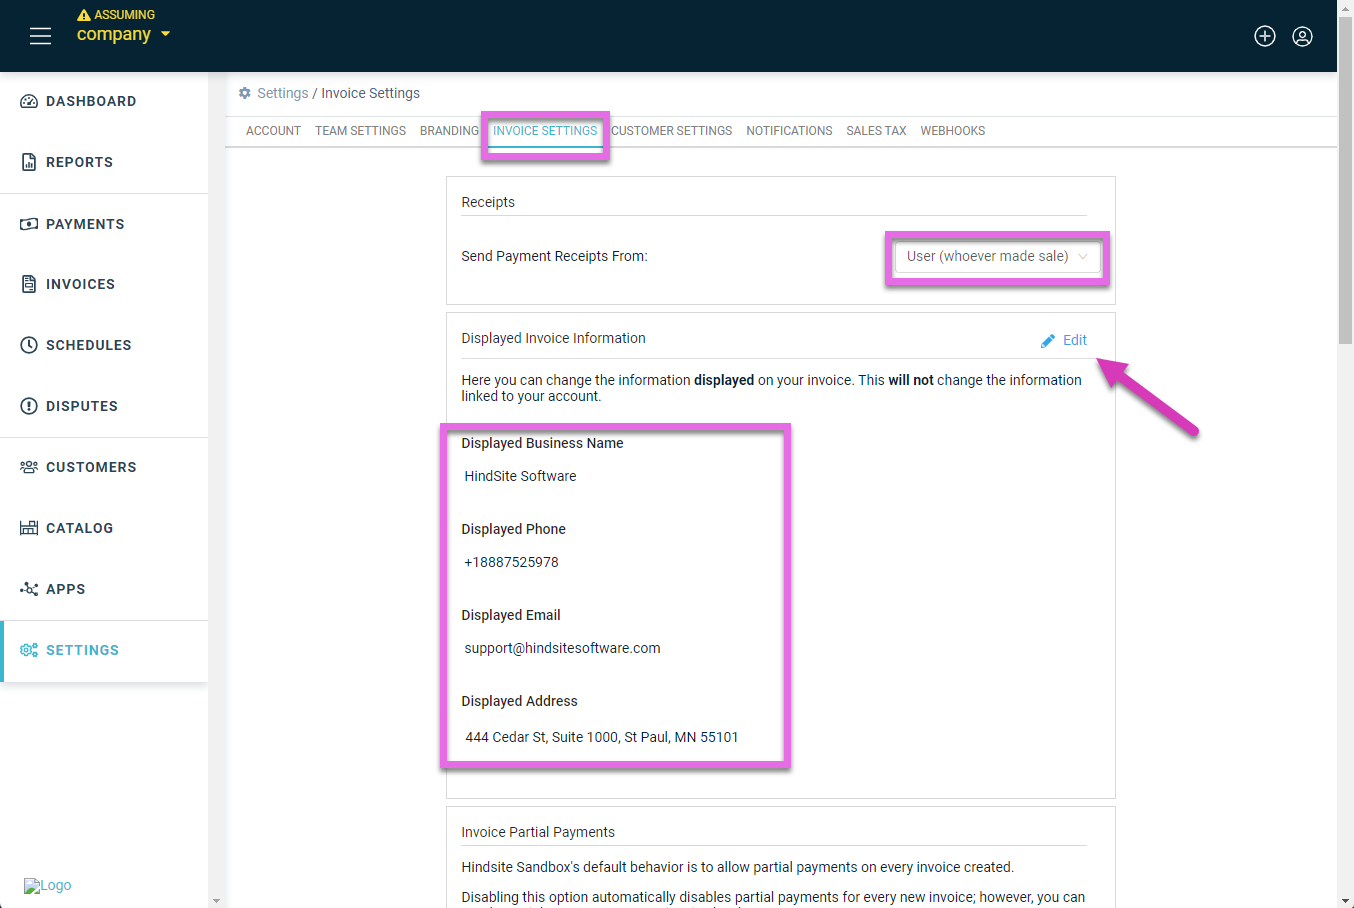
In the “Settings> Invoice Settings” Tab, we recommend reviewing the “Send Payment Receipts From” option drop down to ensure this is set how you would like.
Use the “Displayed Invoice Information” section to edit what information you would like to have displayed on your invoices.
Further down in the “Settings> Invoice Settings” tab, you will also need to ensure that the “Allowed Payment Methods” allow whichever types of payment methods you would like to accept through Stax, choosing from ACH Bank or Credit Card as the available options.

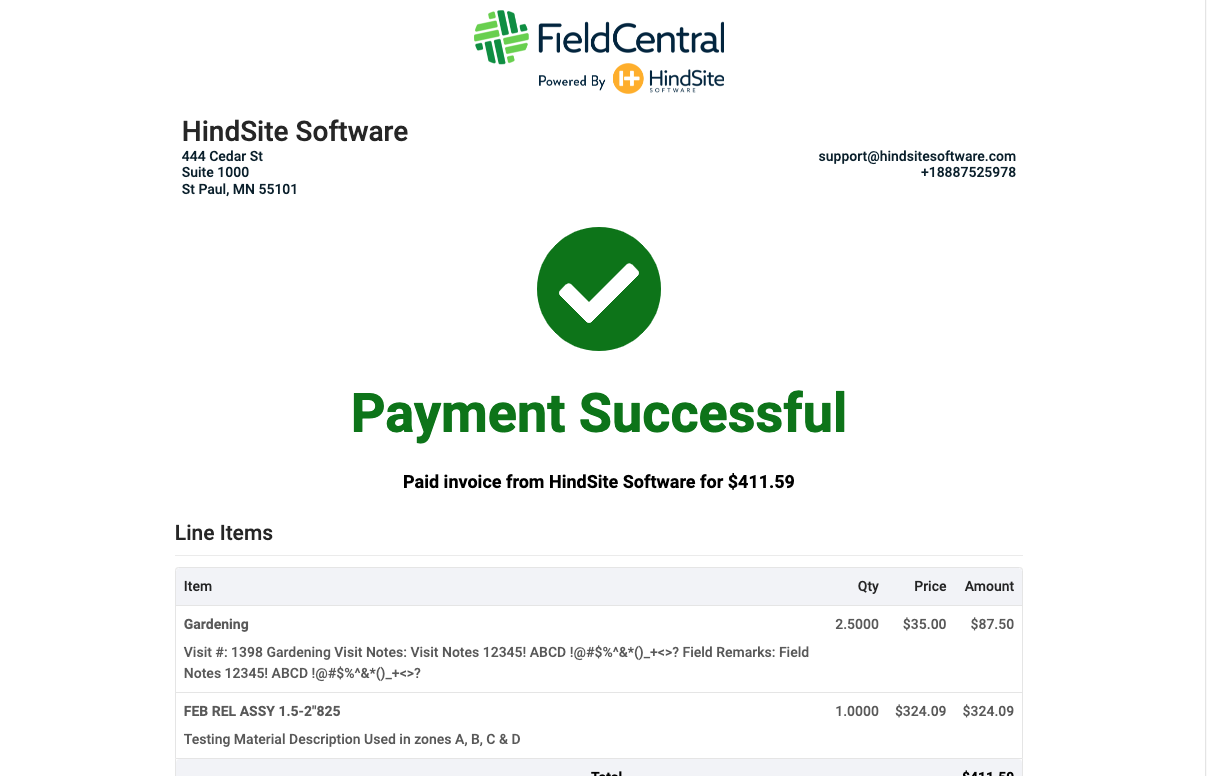
Once you have made all of these edits as desired, your invoice will look something like this and you are ready to send payment links: