In this article we will cover how a FieldCentral user would use the filters on the Accounts page to locate the desired account in addition to how to export the generated list.
Knowing how to locate your various customer accounts is key to account management and staying on top of your customer needs and details.
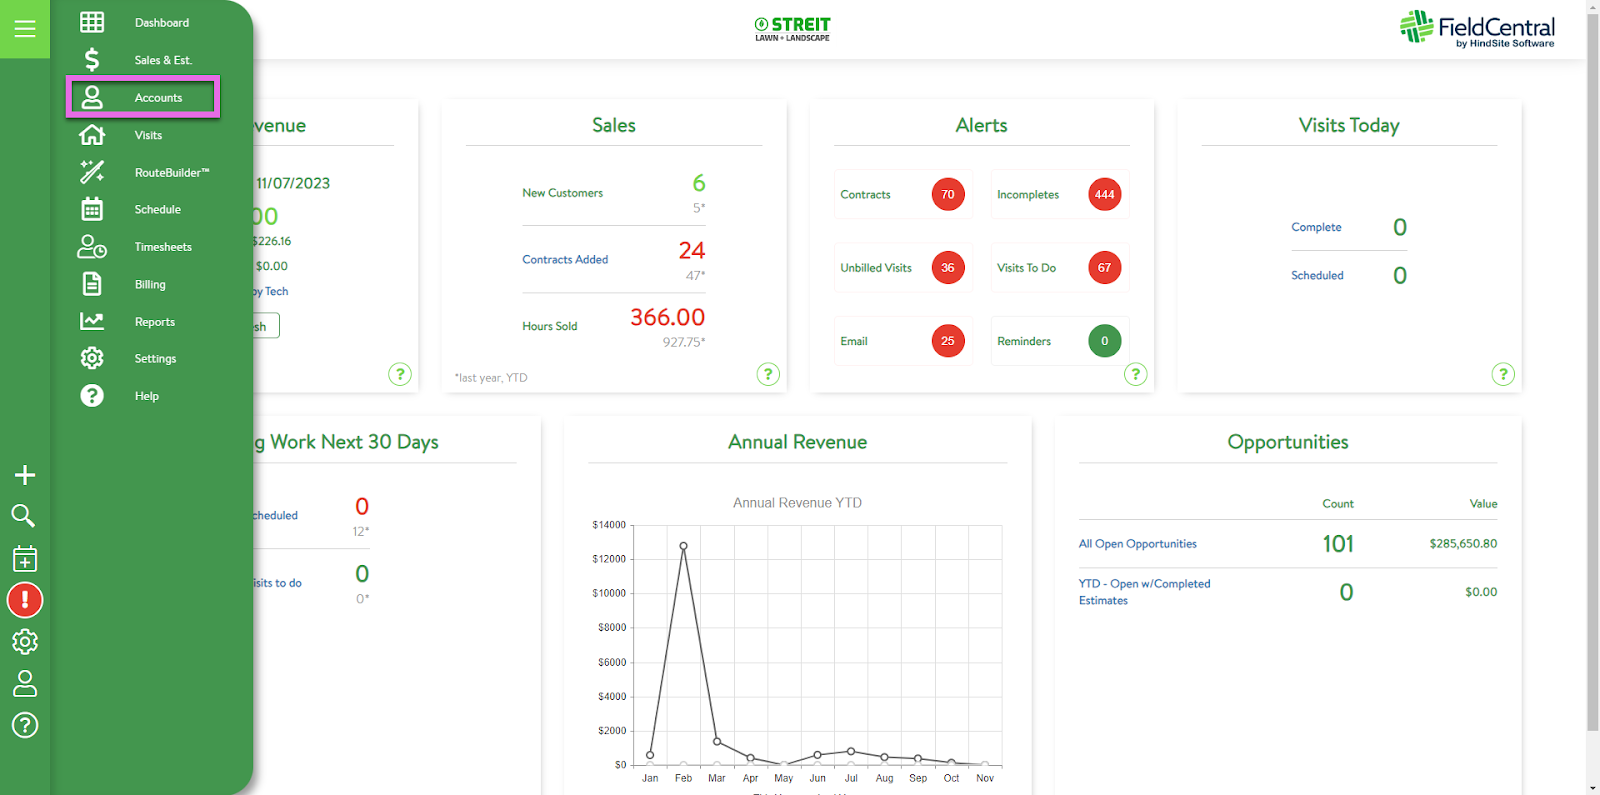
Once you have logged into your FieldCentral web account, navigate to the Accounts page via the Main Menu
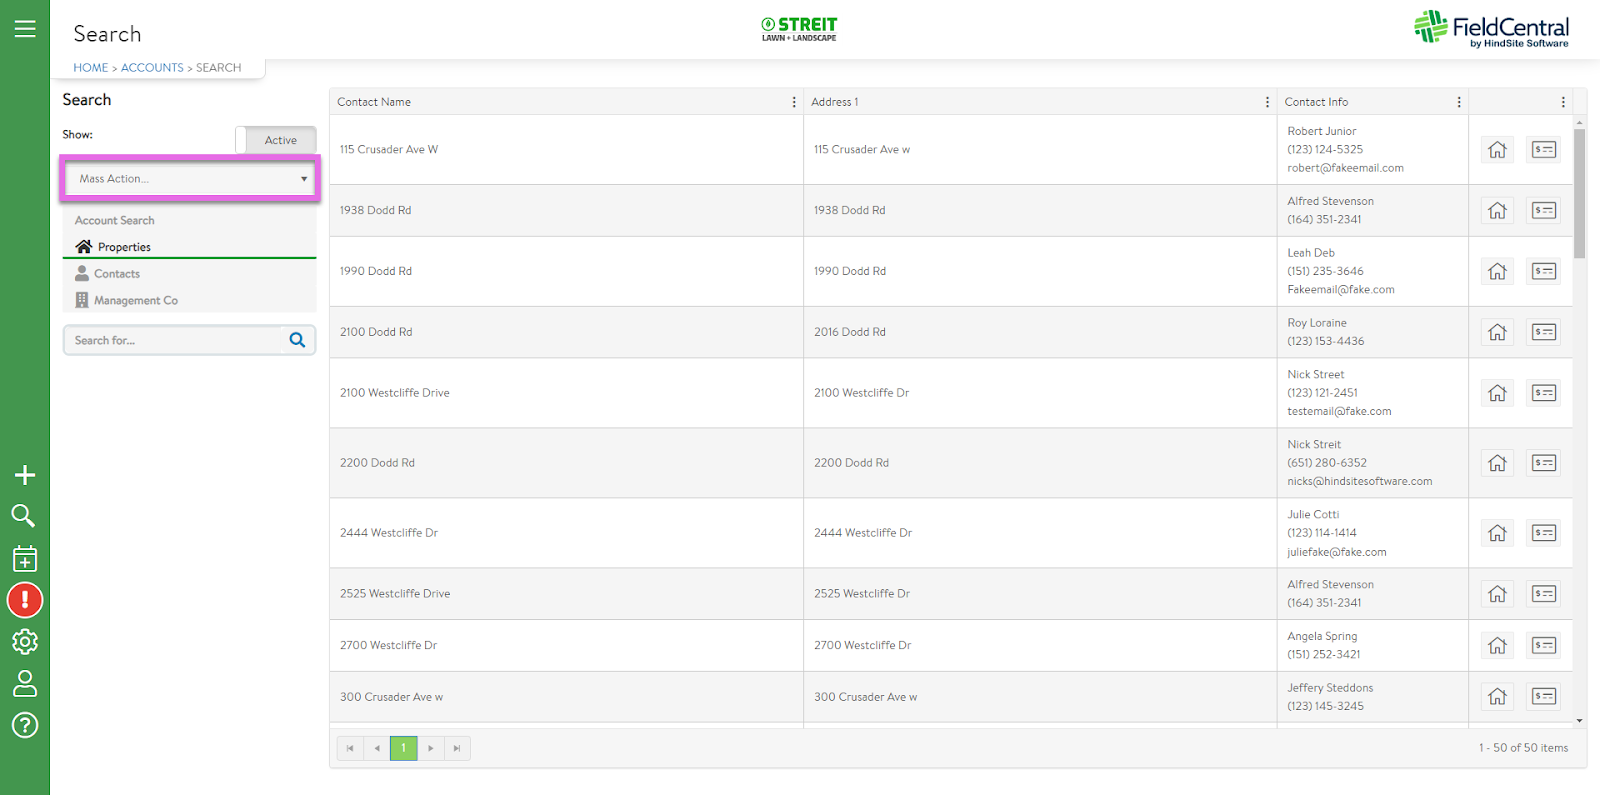
Use the search bar to enter in any account information to narrow down this list or identify one specific account.
Once the account is visible, the user is able to click directly into that account.

Within the account details, the user will see the variety of information at their disposal regarding the account.
Should any edits need to be made, the user will need to first click the “Edit” button on the top right of the page. In order for changes to be saved, the user will need to be sure to click the “Done” button.

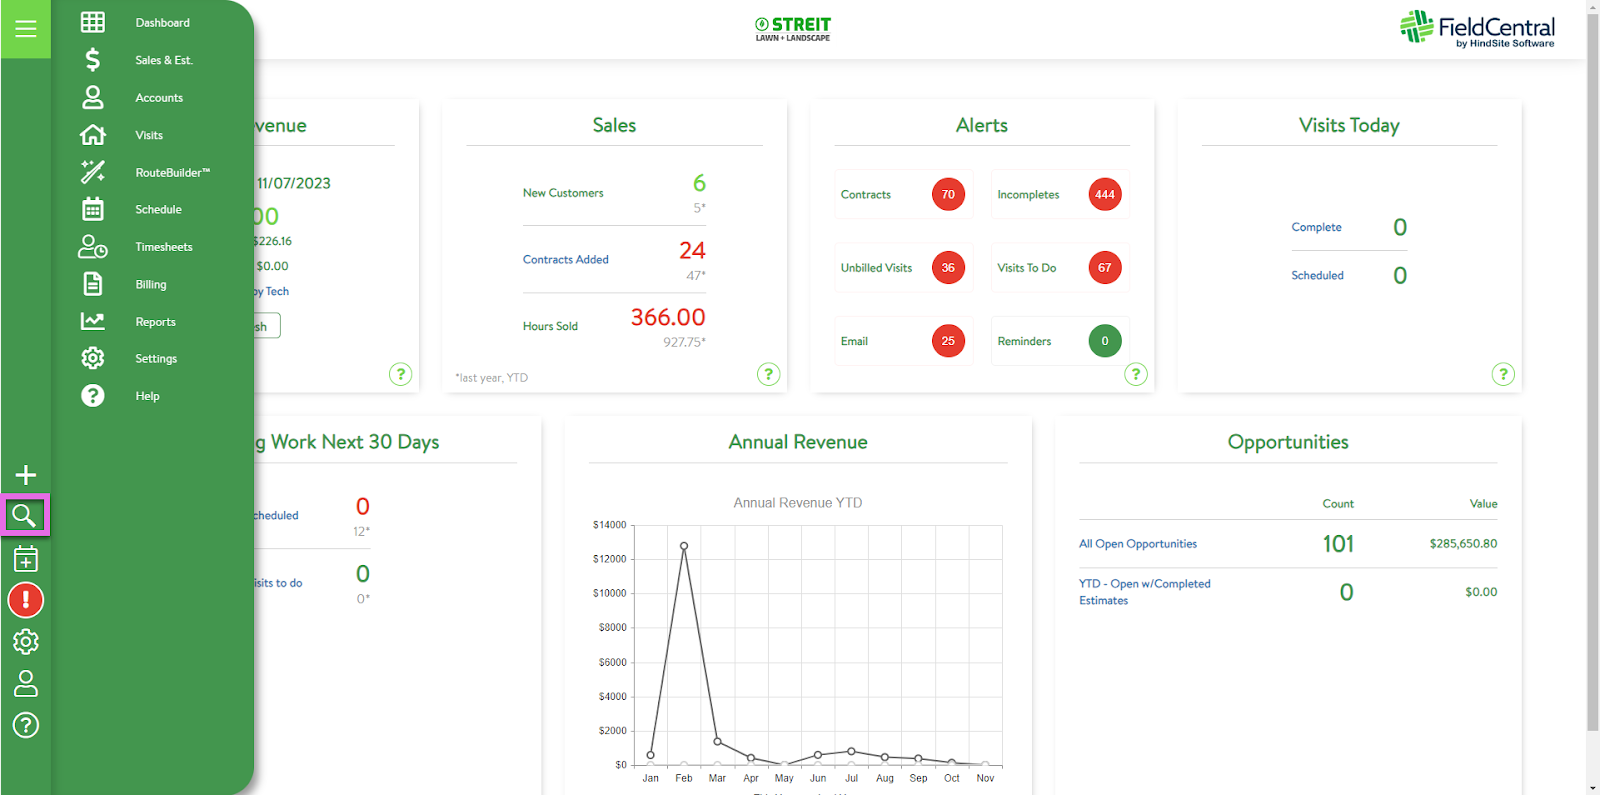
Users can also use the magnifying glass icon on the quick access panel to search for any account information.
In the event the user is needed an exported list of accounts, they will also do this via the accounts section of the program.
After navigating to your list of accounts, you would commonly click the three dots in one of the column headers to adjust the column visibility.
With column visibility selected, you can go through and toggle the fields you would like to display on the preview before clicking apply.

After adding the columns you would like to export, you are able to further filter by the displayed columns. To do this, you will click the three dots on the column you would like to filter, and use the filter options to specify which records should display

When the user is ready to export their list of accounts they will select the “Mass Action” drop down menu and select “Export to Excel”
This will export a document for the user to utilize how they wish.
Be sure you are familiar with the filtering and data options available to you within the Accounts section so that you are able to manage appropriately for your business needs.