User Defined Fields allow you to create and access your own data fields for storing information that can be used for Billing, for Reports, or for any other need you have for storing and accessing information relating to your customers.
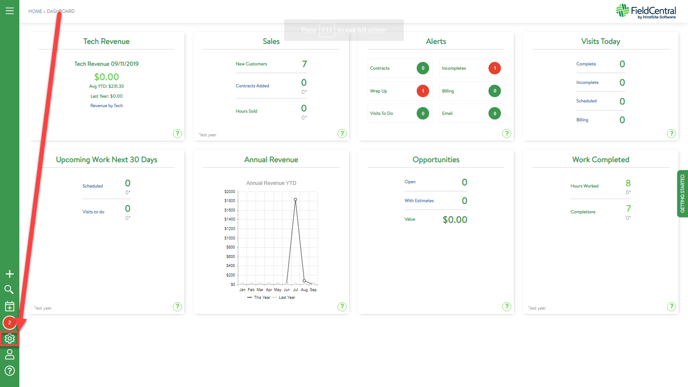
Go to Settings
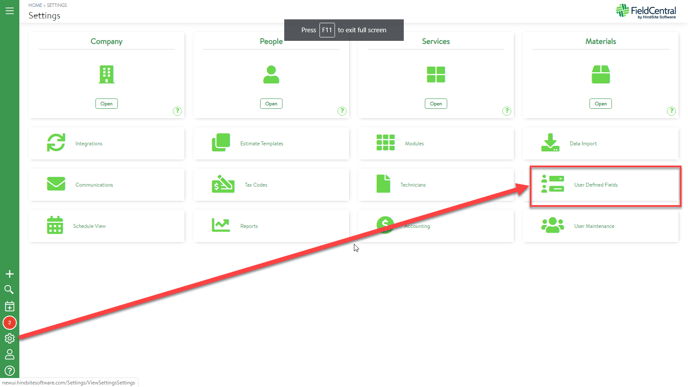
Click on User Defined Fields
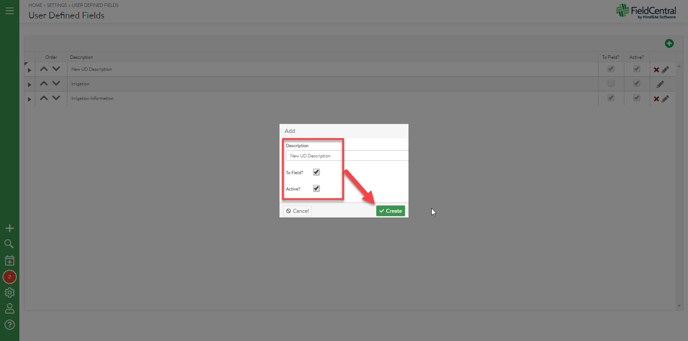
Click on the Plus symbol at top right.
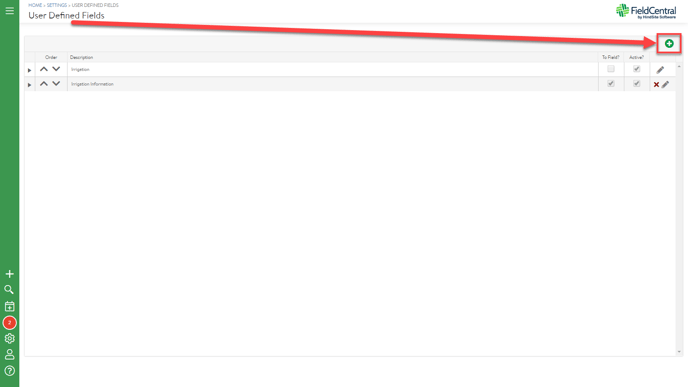
Type in a Description. This will be a category name for a set of Sub Fields which will be filed under this name.
- To Field? If the data in this field needs to be available to the Techs, check this box.
- Active? Only Active UDFs are available for any purpose.
Click on Create
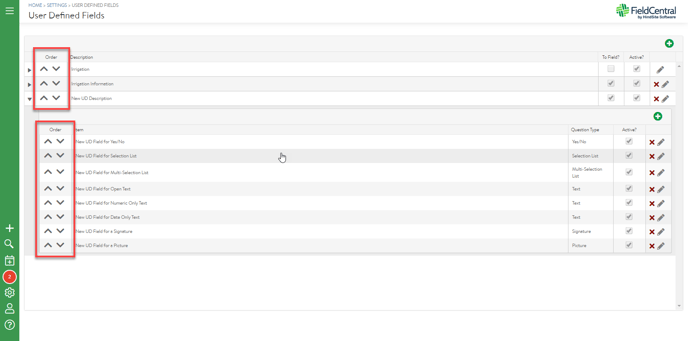
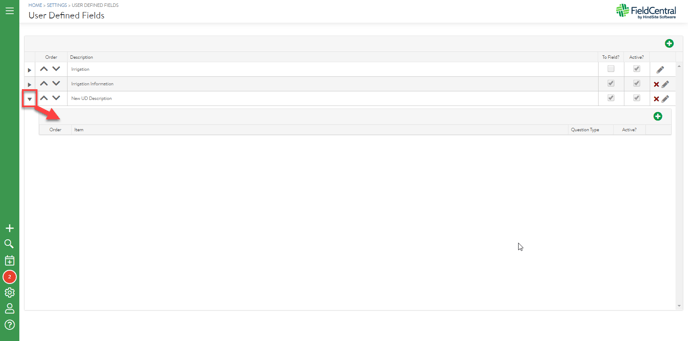
Click on the triangle-shaped arrow adjacent to the new UDF Description. This will open up the Sub Fields.
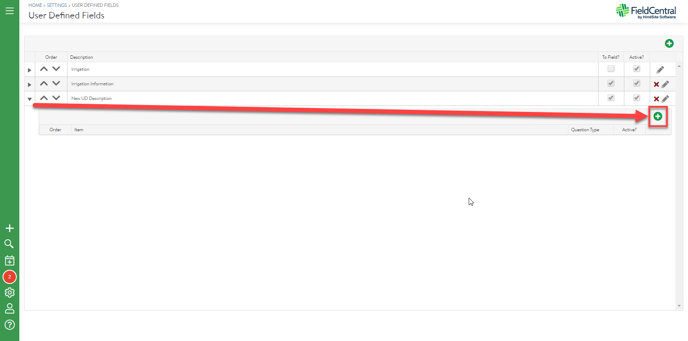
Click on the Plus symbol at top right in the new drop down.
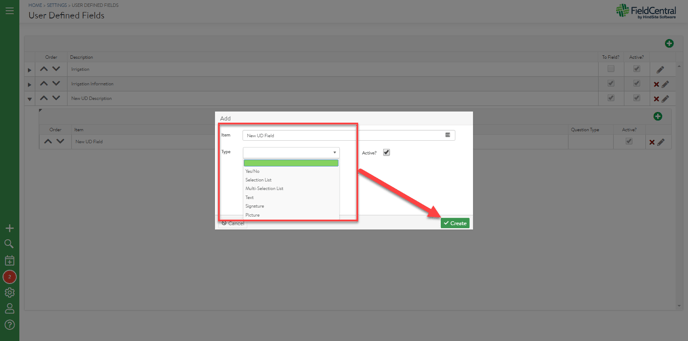
Type in the new UD Field name.
Click on the drop down adjacent to the word Type. You are creating a type of data field. The selections in the drop down menu determine the type of answer, or data that this UD Field will store.
- Yes/No Stores a Yes or a No.
- Selection List Stores a selection from a list. You will create a list of items from which one will be stored.
- Multi-Selection List Stores multiple selections from a list. You will create a list of items from which more than one can be stored.
- Text Stores text. You will select from a drop down menu between Open Text, Numeric Only, or Date Only.
- Signature Stores a signature.
- Picture Stores a picture.
Click on Create
The up and down arrows allow you to change the order in which the data fields are arranged.