To start utilizing timesheets within FieldCentral you first must enable the Timesheets Integration which can be found under Settings > Accounting.
For QuickBooks Desktop the option will look like this.
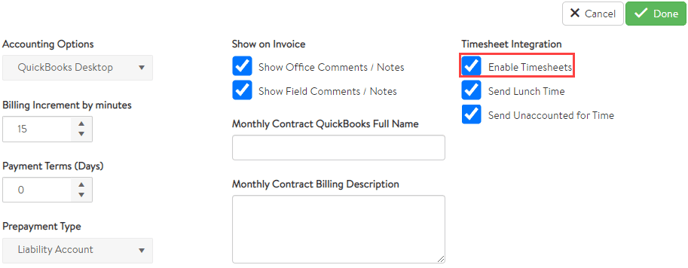
You’ll notice there’s also options to Send Lunch and Unaccounted for Time (time in between jobs where the tech wasn’t timed into anything) so if you want to send those across to QB you can check those options at this time.
After turning this on make sure to hit the Done button in the top right to save that change.
For QuickBooks Online you must also be using the TSheets application which is separate from QBO itself. It requires a bit of additional setup to tie in TSheets to QBO.
The first step is to enable TSheets
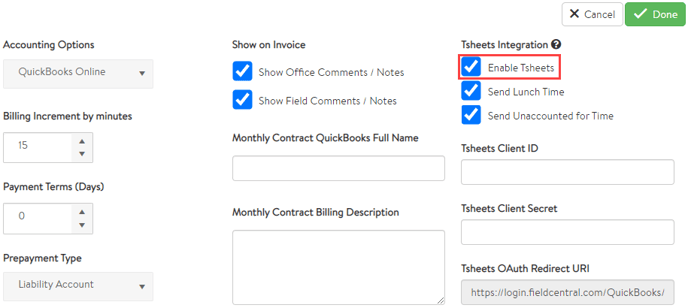
If you hover over the ? icon next to the TSheets Integration you’ll get this pop up explaining how to tie your TSheets account into FieldCentral.
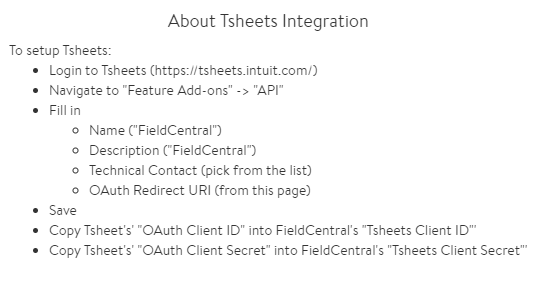
After following those directions FC should now be connected to TSheets so we’ll move onto the next step. We also want to make sure the Employees are set up by connecting to their names in TSheets.
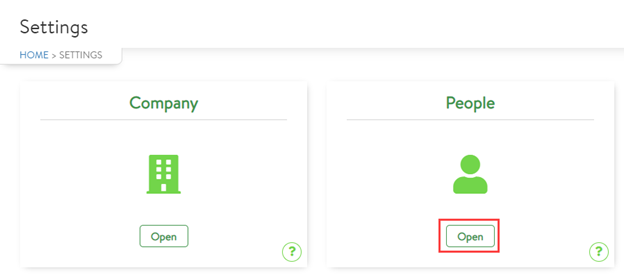
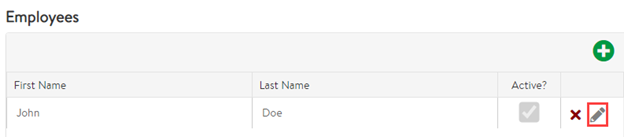
To do this go to Settings > People and go into the employee accounts of the techs that you need to send those times over for.
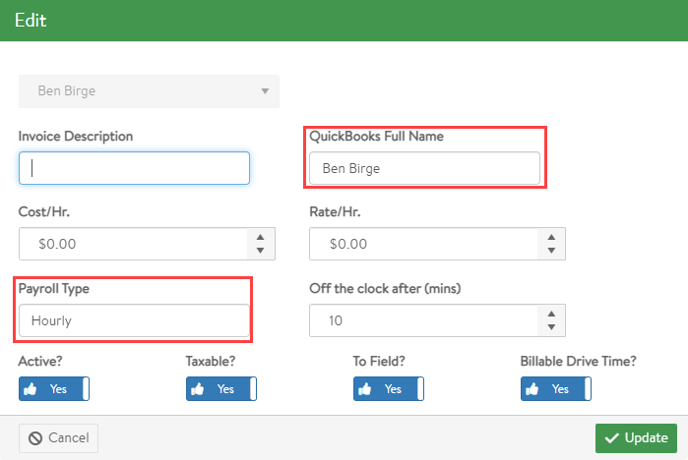
In this section you want to make sure to enter in the QuickBooks Full Name to match the employee’s id in QuickBooks, and also enter in the Payroll Type for that employee (Generally Hourly/Salary). The payroll type should match exactly with the name that’s setup in QB.
Now that we’ve turned on the Timesheets option and set up the employee’s account, you’ll now be able to send the times they captured in the field over to QB to run Payroll for those employees.
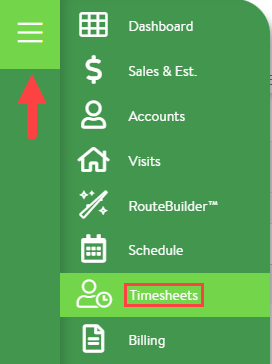
To review the Timesheets, you can click into the Main Menu at the top left of the Quick Access Bar and select the Timesheets option.
The From and Thru dates on the left will always default to the previous day and you can adjust the date range of the times you’re looking for. There are also other options to choose a specific visit #, a property, or an employee’s times using the other search fields as shown below.

Visit #: Pull all times for a specific visit
Property: Pull all times for a specific property
Employee: Pull all times for a specific Employee
Once the search has been adjusted for the correct list of times you can also edit the times from here by clicking the pencil icon on the time you need to adjust and then you can just type in any time adjustments necessary, just make sure to click the green checkmark icon after to save that change.


You can also add completely new times by clicking the Green Plus icon in the top right under the employee you need to add the time for.

You can then select the type of time you’re adding using the Service dropdown list
For Service and Driving you’ll have to make sure to enter in the Visit # that you’re tying those times to.
For Admin times such as Shop, Lunch, and Travel since those aren’t Service specific times there’s no need to enter in a visit number when adding these types of time.
Productive (hrs): Time techs timed into Visits
Non-Productive (hrs): Time techs time into admin times (Driving, Shop, Travel)
Unaccounted (hrs): Time where the tech isn’t timed into anything between jobs
Lunch (hrs): Time tracked as Lunch
For QuickBooks Online:
Once you’ve reviewed the times and made the necessary adjustments you can then click the ‘Send to Tsheets’ button and if the employee accounts are set up correctly those times should then be sent across into Tsheets where you can now run payroll for those employees.

For QuickBooks Desktop:
Once you’ve reviewed the times and made the necessary adjustments you can then click the Send to QuickBooks button and that will load these times into a ‘Pending’ state.

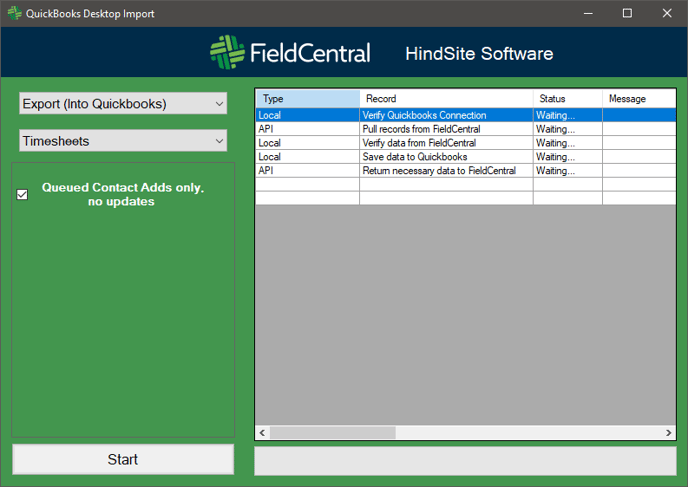
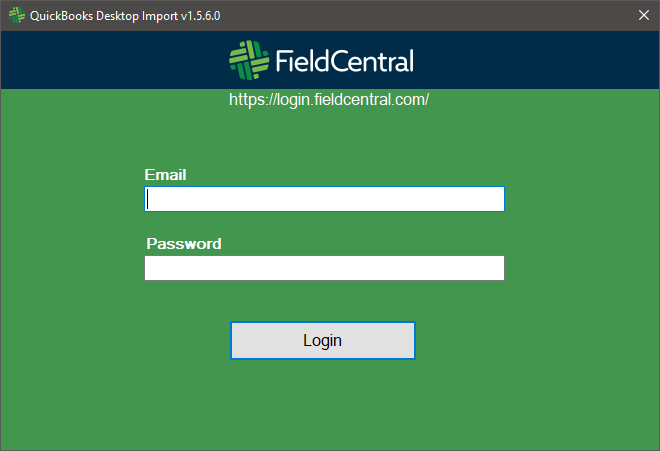
From here you’ll need to open the FieldCentral QuickBooks Import tool (The one used for Invoicing and pulling data from QB) and sign in using your email and password for FieldCentral.
Once signed-in you’ll want to select Export from the first dropdown and then Timesheets from the second.
Now if you click start it will send over all the times that were put into pending, so as long as the employee accounts are set up correctly you can then run payroll for those employees in QBD.