In this article we will cover how a user would send visits to billing and generate customer invoices for payment.
Knowing how to bill/invoice your customers for services rendered is a cornerstone to running your business and ensuring revenue is accounted for.
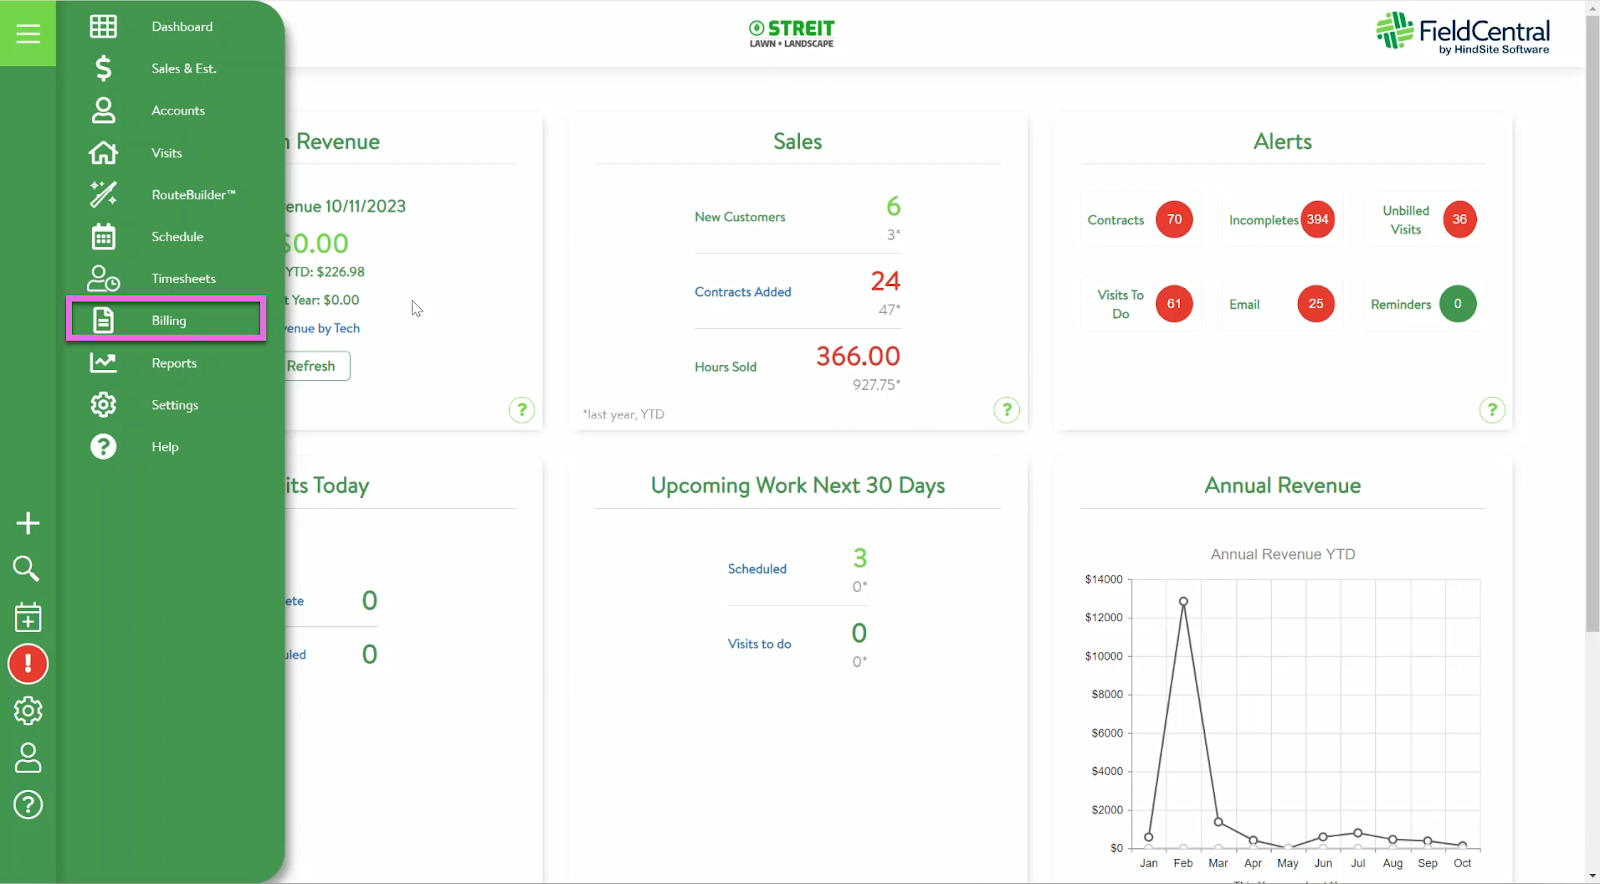
Once you have logged into FieldCentral, navigate to the Main Menu and select “Billing”.
Within the Billing page, set the desired filter parameters and then click “Retrieve” to generate the list of visits ready for invoicing.

The retrieved visits are those that have been marked as completed and are ready to be invoiced to the customer.
To dive deeper into the details of any of the visits listed and make any necessary edits, click on the corresponding “Visit Summary” button on the right hand side of the screen.
Utilize the toggle buttons on the left side of the screen to select/unselect from the visit list as needed.
Once satisfied with the selection, click “Send to Billing”.

A preview of the invoices will be generated for final confirmation.

QuickBooks Online users: click “send to QuickBooks Online” in the bottom right corner of the preview window.
QuickBooks Desktop users: Open the integration tool and choose to export invoices and then click start.