In this article, we will cover the Request Forms builder for FieldCentral users who have purchased the FieldCentral Connect add on feature.
For clients who have FieldCentral Connect you will now be able to create custom forms with unique links in order to receive various request types from your customer base. The links to these forms can be added to your own websites, included in email communications, and more. The forms can be used to obtain information for a number of scenarios::
- Request a service appointment
- Request an installation or repair estimate
- Submit customer feedback
- General Contact Us
- Create different forms for residential vs. commercial; lawn vs. irrigation; existing vs. new customers, etc.
- And many more!
*Request Forms are NOT to be used to collect sensitive information as these are not on secured pages. (ie. DO NOT collect Credit Card information).
Once you have logged into your FieldCentral web account, navigate to the “Settings” page either via the quick access panel or via the Main Menu.

If FieldCentral Connect is a purchased add-on feature within your company's account, the “Request Forms” option will be available.
If this is an add-on that has not been purchased yet, you will see this feature “locked”. If you are interested in purchasing this add-on and obtaining this capability along with many others, navigate to Settings > Communications and attempt to enable the Connect feature. If you are not already set up, a message will appear with instructions on how to register. If you have any additional questions, please contact your Account Manager or Support.

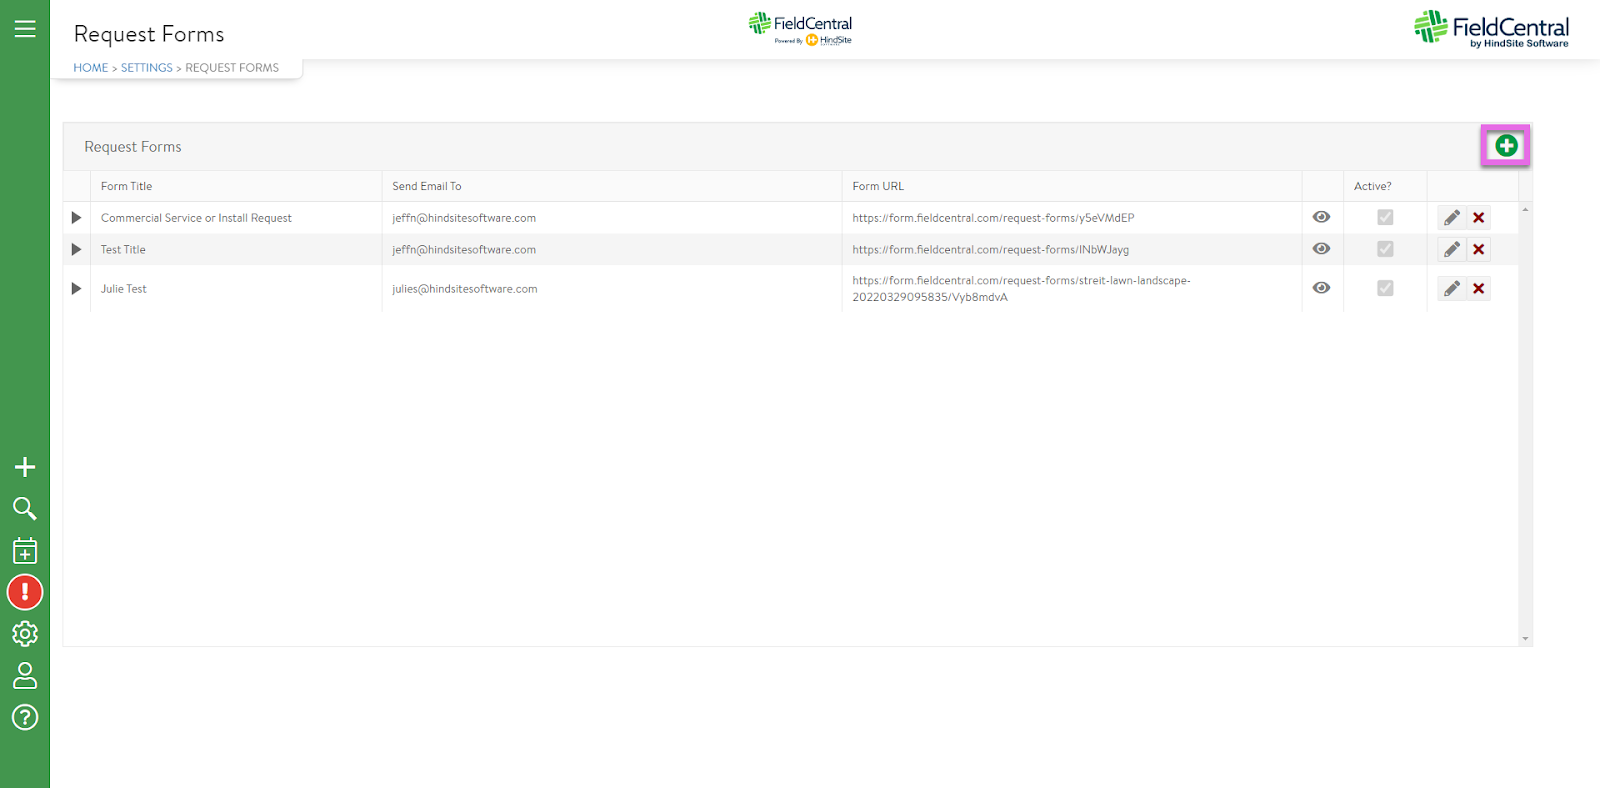
Once within Request Forms, the user will click on the green plus button on the top right of the page to add a new request form.
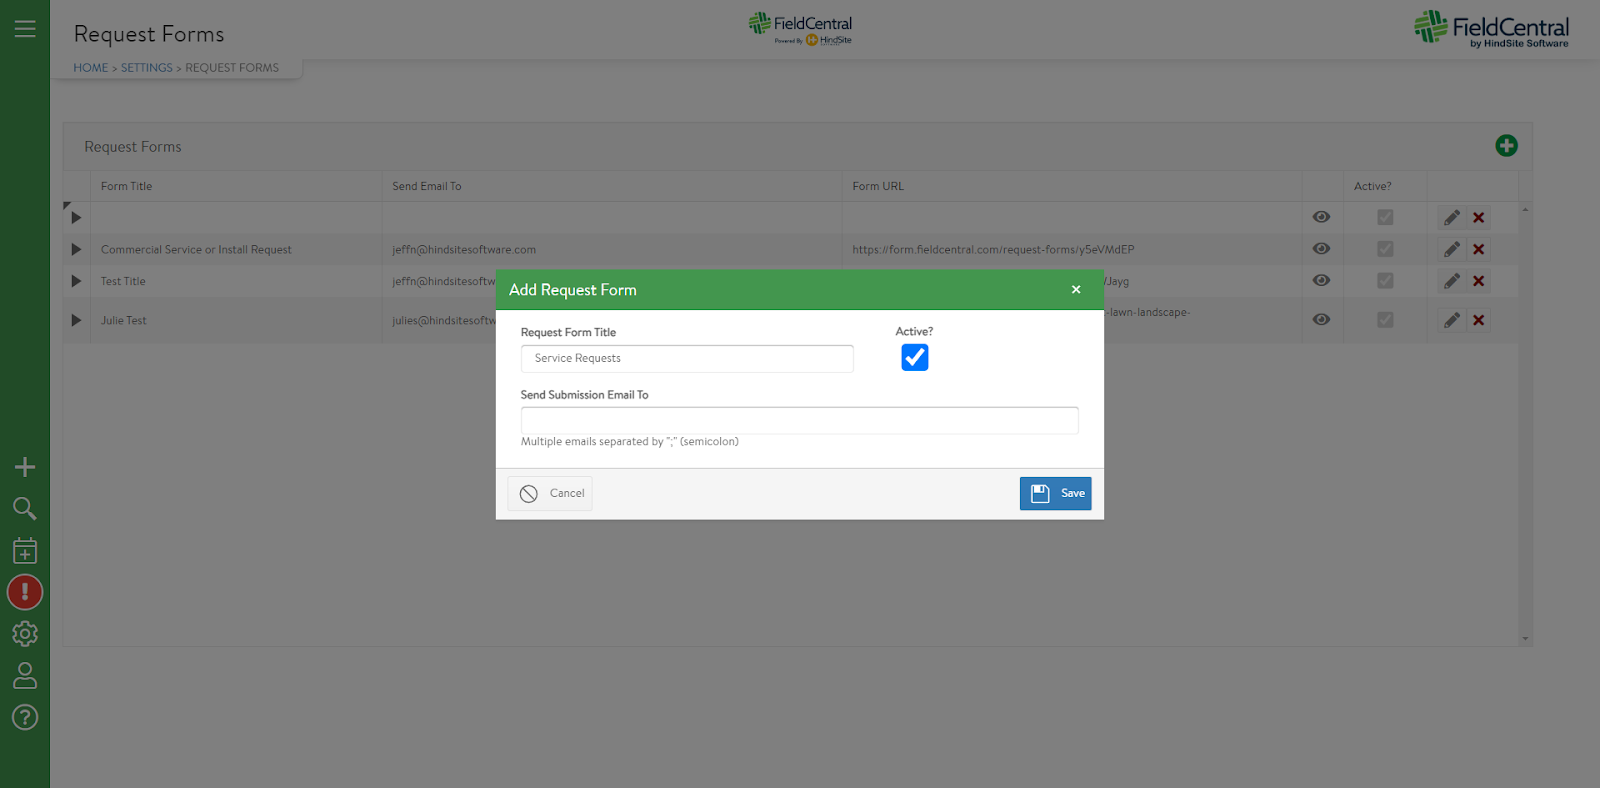
The user will be prompted to provide a Request Form title and confirm which email address the submissions should be sent to and then click “Save”.
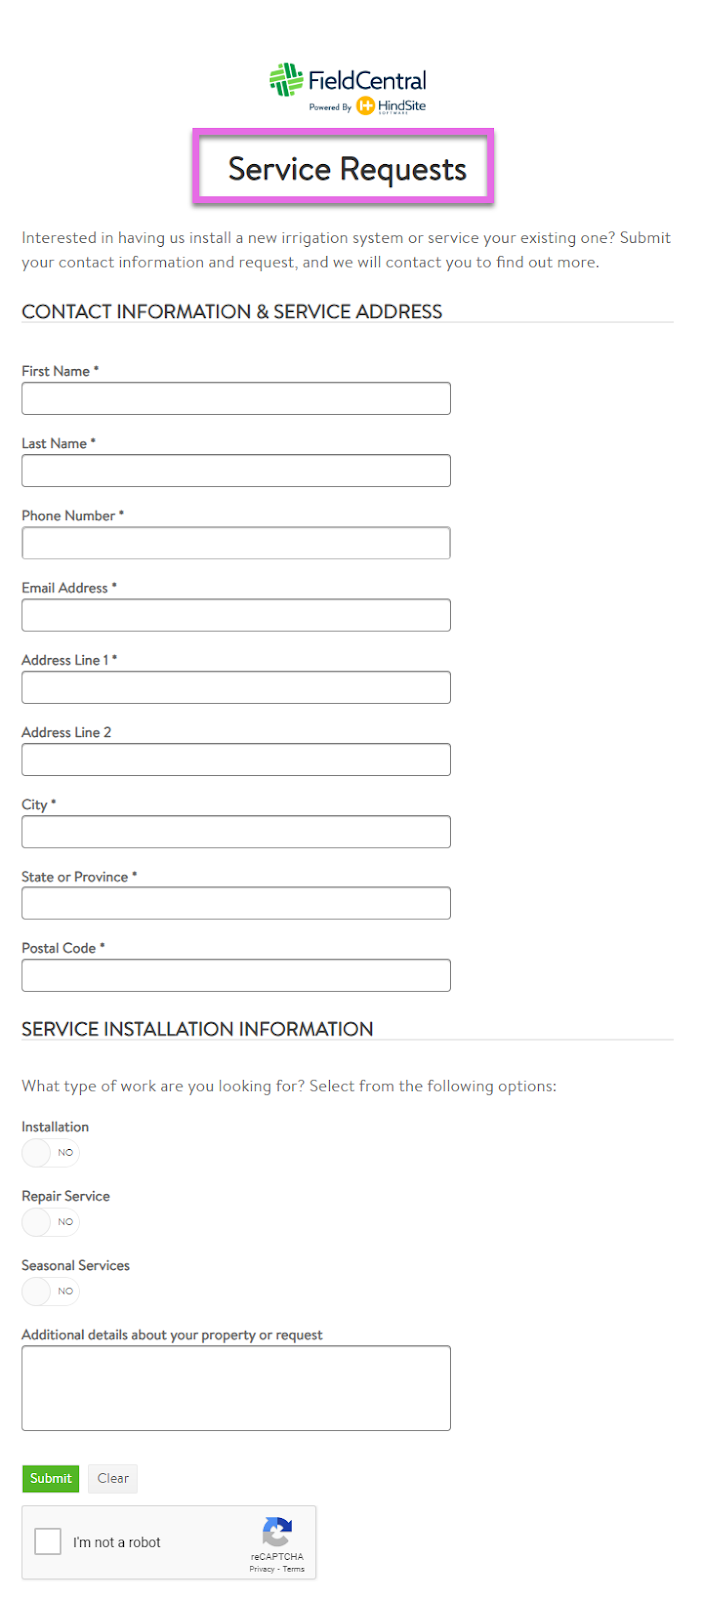
For your convenience, we have pre built a standard starting template for whenever a Request Form is created. To preview the pre-built default, click the eye icon.

Users will see their specified title and the pre-built questions within the form.
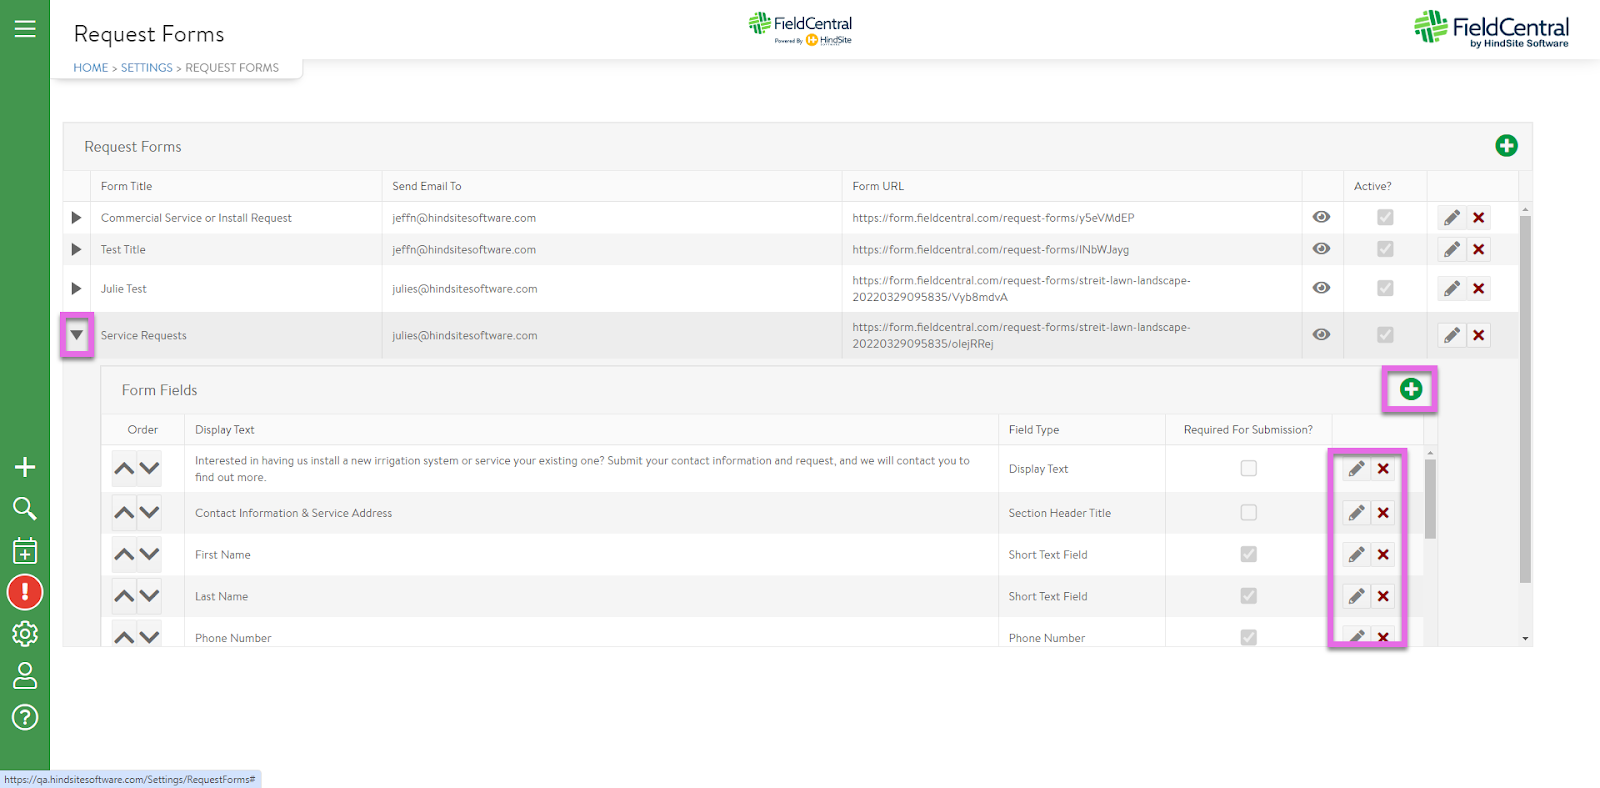
If edits need to be made to this template, the user will return to the Request Forms page and click the drop down arrow on their form. Here they will be able to edit or delete any of the pre-built elements as desired.
If the user would like to add an entirely new element, they will click the green plus button within the “Form Fields” section.
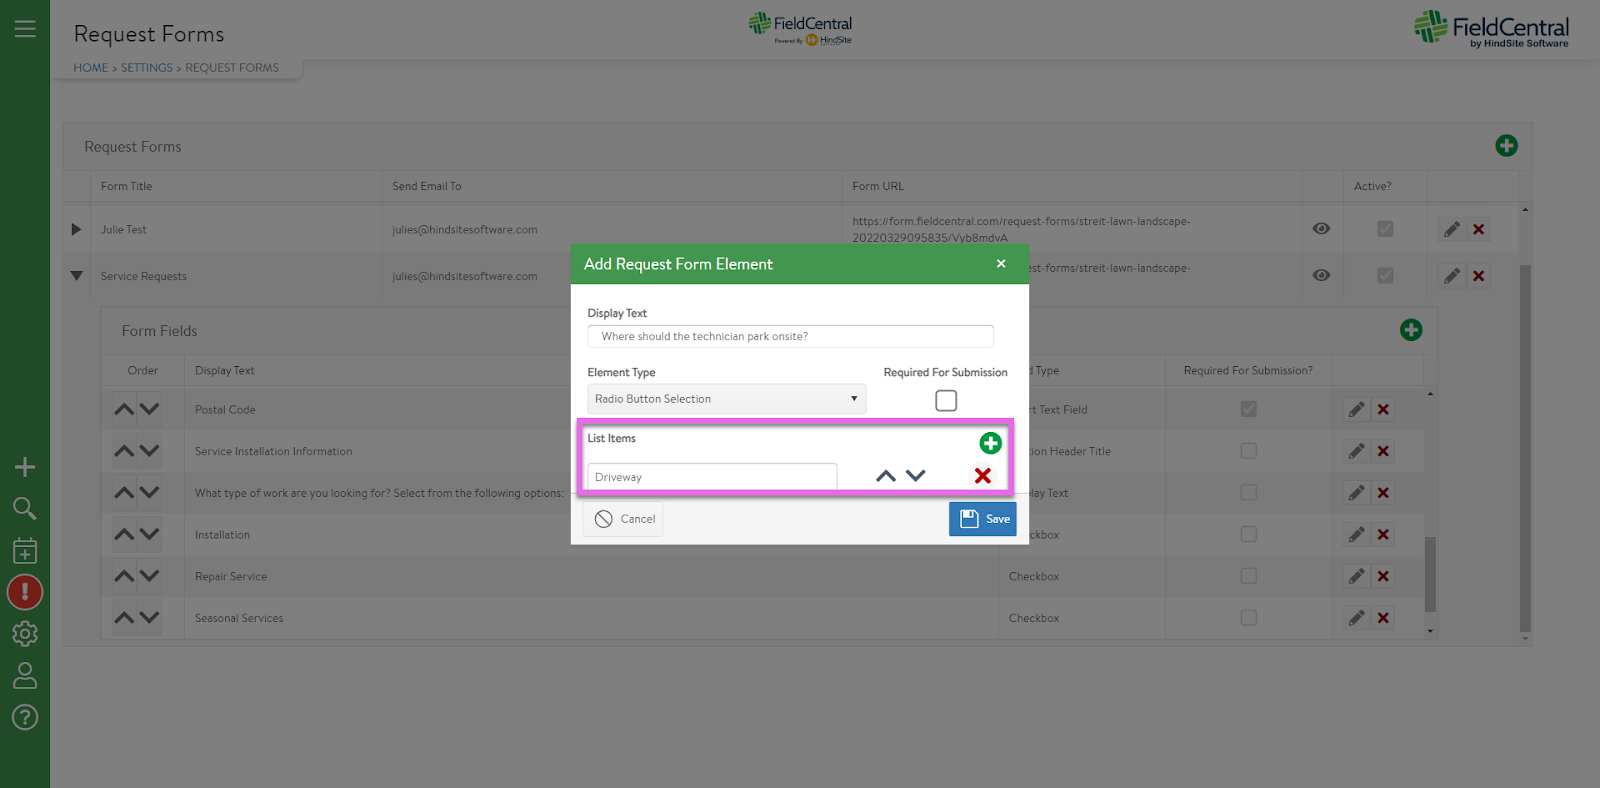
This will open a window where the user can add any of the desired element options.

For this example we will add a field where the interested customer will need to confirm where the crew should park while onsite to perform the service.
Once the element type is selected, the user will be able to click the green plus button to add a new selection item.
If an item is added by mistake, click the red X to remove it from the list of options.
To re-order, use the arrows.
If the user would like to make this field required, they will need to ensure that the “Required for Submission” checkbox is checked.
Once satisfied, click “Save”.
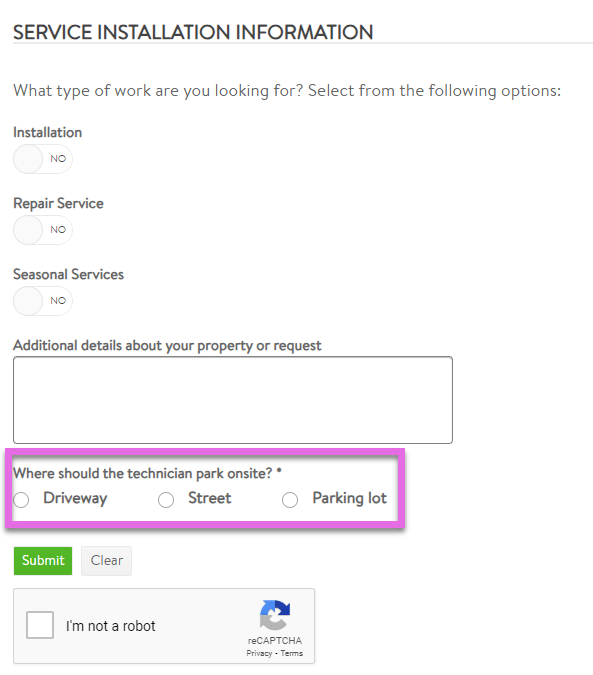
When the user reviews their form again, they will see the newly added field.
Once the user is satisfied with the entire form and they are ready to use/distribute, simply copy the “Form URL” and use it as needed.
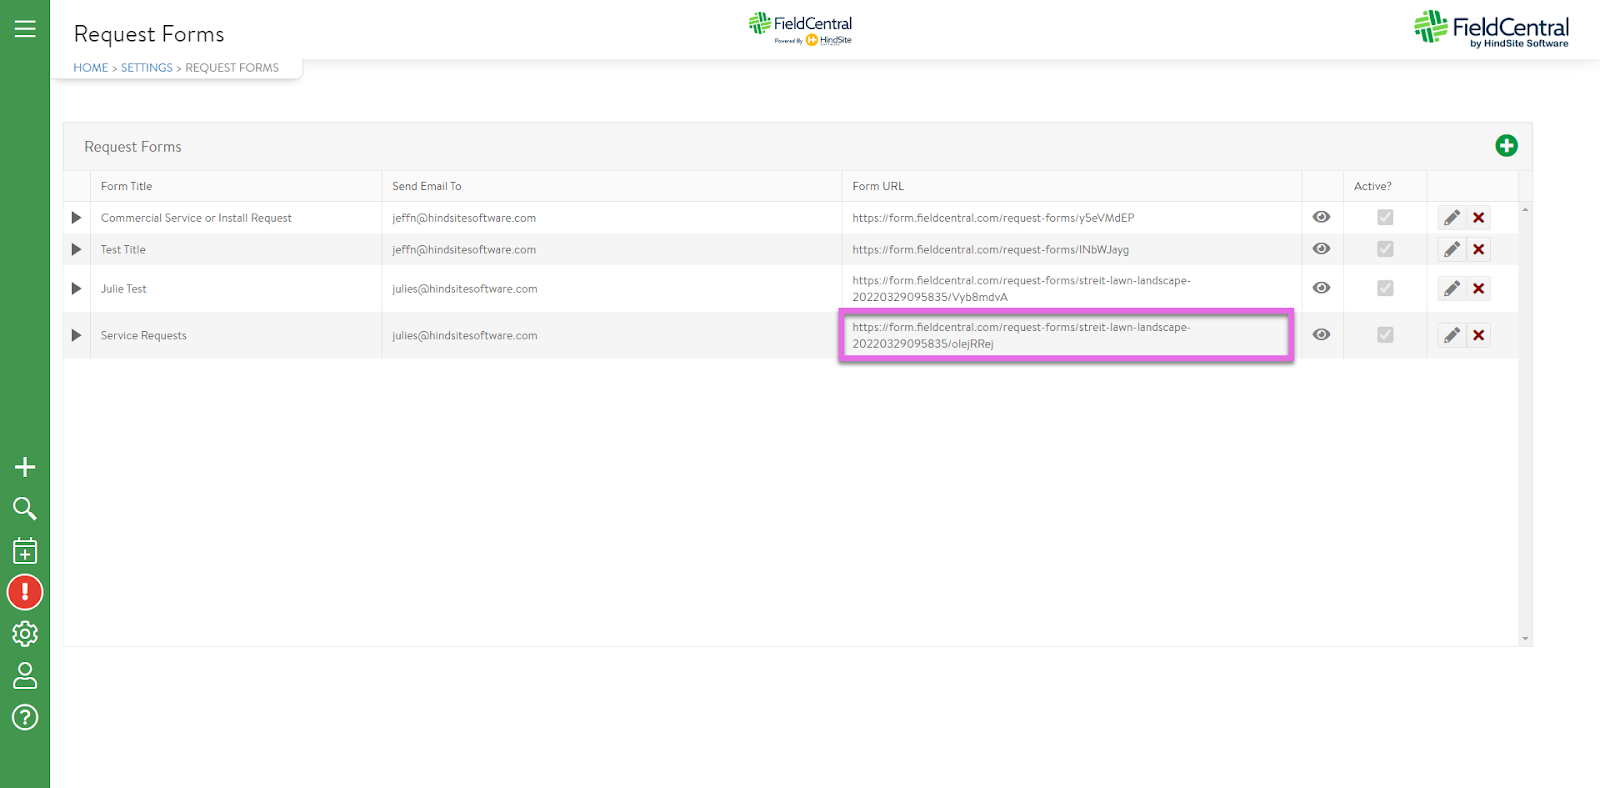
This URL can be added to emails, invoices, websites etc. Whenever a form is submitted, an email will be sent to the specified contact with the submitted information to take action as needed!
<Example of a submitted form email notification:>

*Request Forms are NOT to be used to collect sensitive information as these are not on secured pages. (ie. DO NOT collect Credit Card information).
Check out the quick video!