In this article we will cover how to set up “Vehicles & Equipment” in addition to how users would leverage this information when scheduling or creating routes within FieldCentral.
By setting up vehicles & equipment users will be able to quickly answer the following questions for a more informed scheduling/routing process: Do I have the right equipment for this service? And do I have the right equipment to perform the work on a specific property?
The ability to quickly answer these questions directly from scheduling & routing pages will allow users to manage exceptions with ease & empower them to prevent timely scheduling mishaps.
NOTE: This feature will not prevent a user from scheduling any services, this is a warning system for the user to take any desired & appropriate action. However, this feature will not prevent users from proceeding with scheduling a service/property, even in the event that there is a warning. Setting up vehicles & equipment is most effective if you have different equipment on vehicles and have a number of services that you offer.
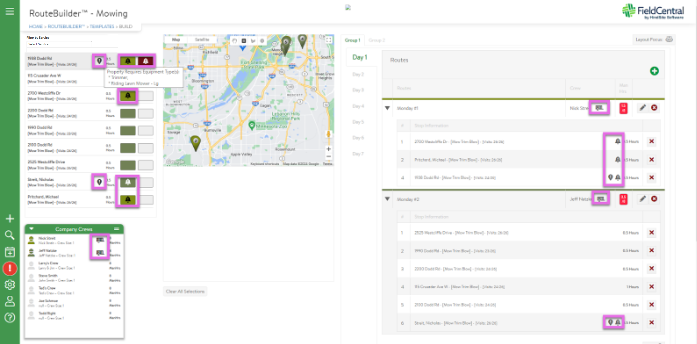
If utilizing Vehicles & Equipment setup, here are some examples of how these warnings will surface when Scheduling in RouteBuilder.
- Exclamation icon: The property has specific equipment needs
- Bell icon: The crew’s assigned vehicle does not have the right equipment to perform a service
- Trailer icon: Surfaces what equipment is on that vehicle
RouteBuilder Visual
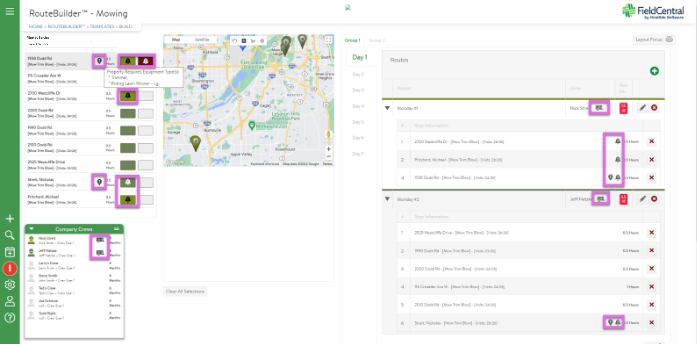
Schedule Page Visual:
_____________________________________________________________
Once users have logged into FieldCentral, navigate to the “Settings” page via the quick access panel.
Select “Vehicles & Equipment”.
Here is where the user will set up their equipment groups, which Services those equipment groups are connected to, types of equipment and then the ability to set up specific pieces of equipment & organize among your vehicles.
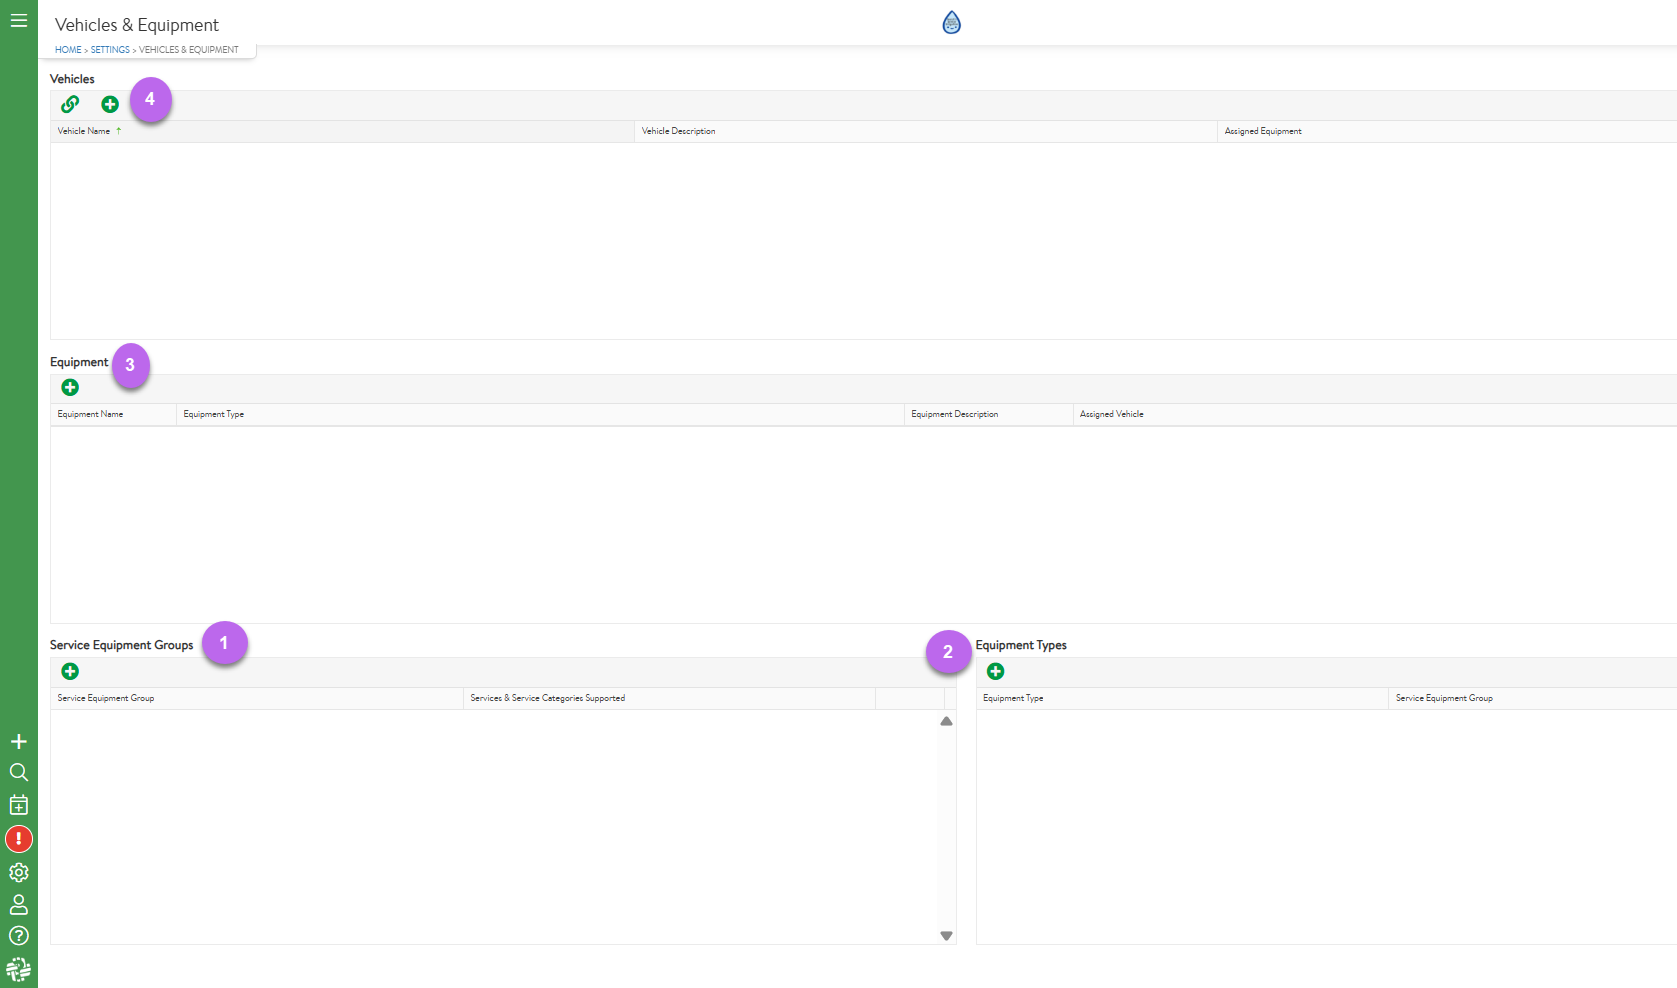
To begin setting up, users will start with the section labeled “ Service Equipment Groups”.
*It is important to note that users will need Service already created to begin this set up process. Service Equipment Groups will be used to ensure that the Crew/Vehicle assigned to a Visit has the right equipment to perform the work.
To create Service Equipment Groups the user will click the corresponding green + button which will populate a row within the section.
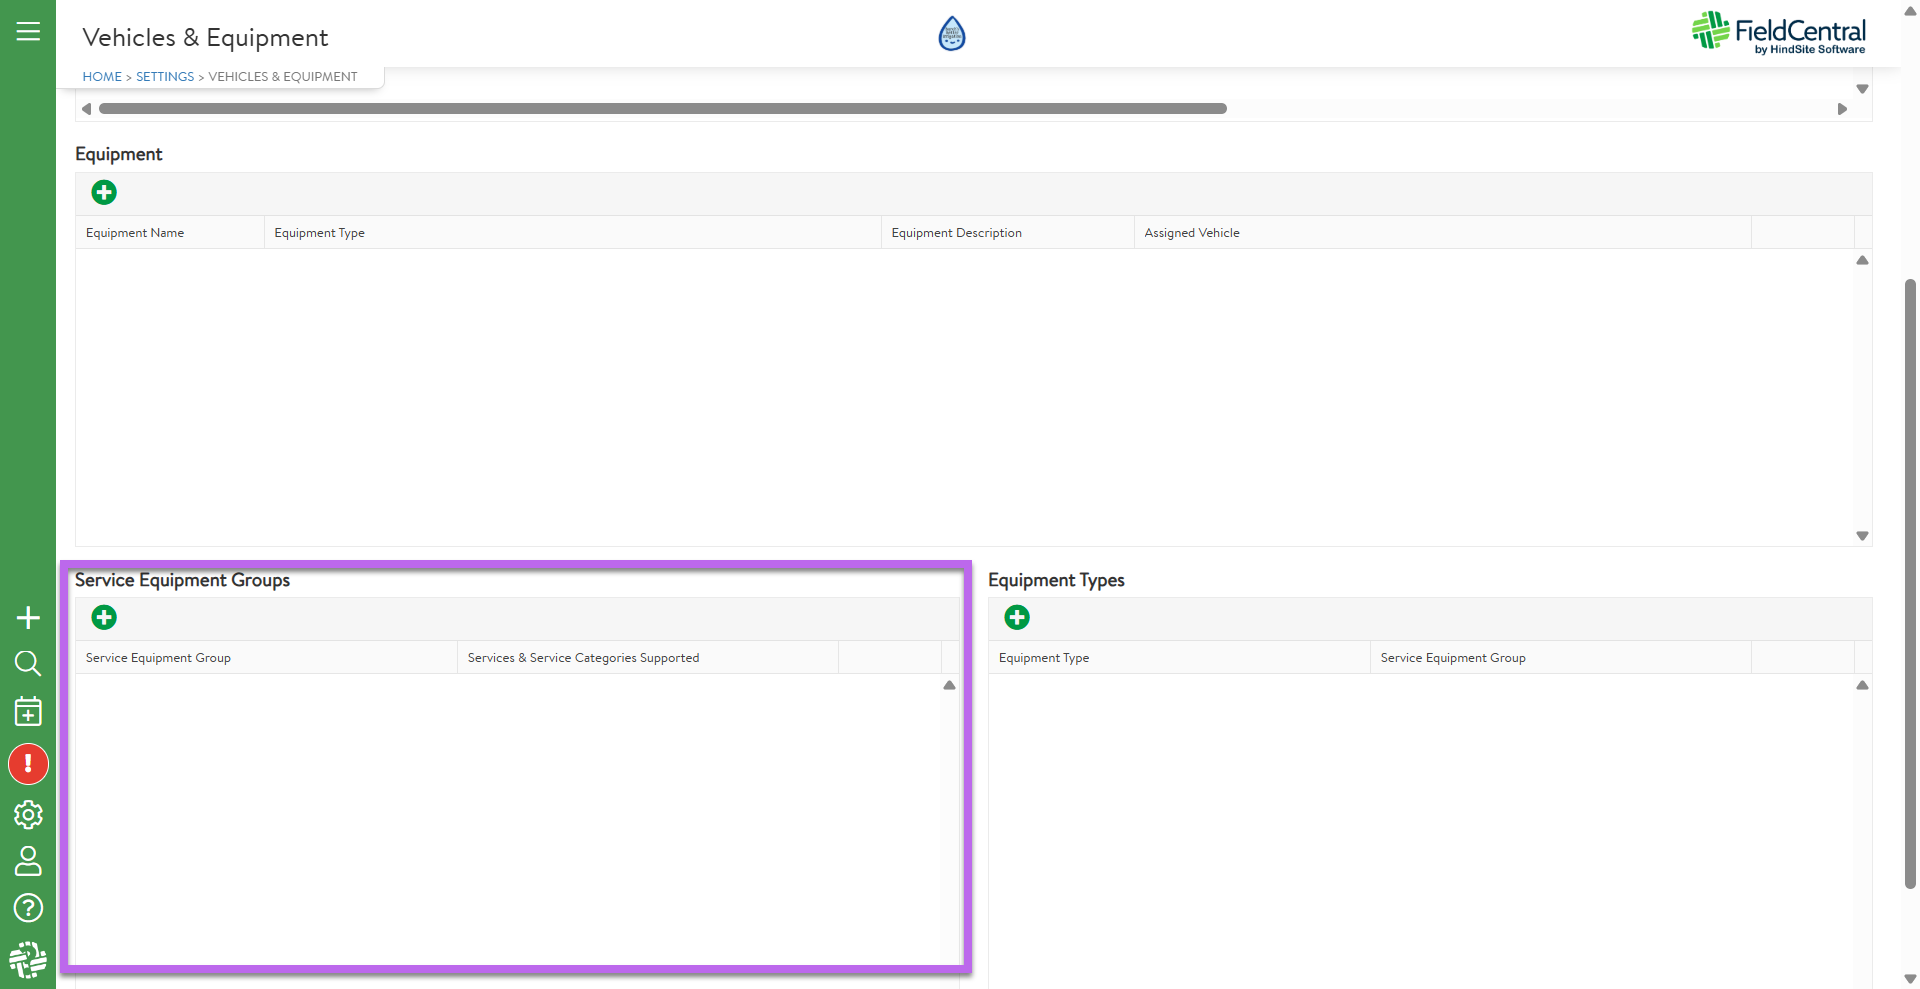
Users will give the equipment group a name like the examples shown below.
Then the user would select which services & Service Categories are supported by that equipment group.
EX: If your crew is going to complete a “Mow Trim Blow” service at a property they would need to ensure that their vehicle has equipment for the “Mowing Equipment” group.
Provide as many Service Equipment Groups as needed. Users can also edit/delete from this section.
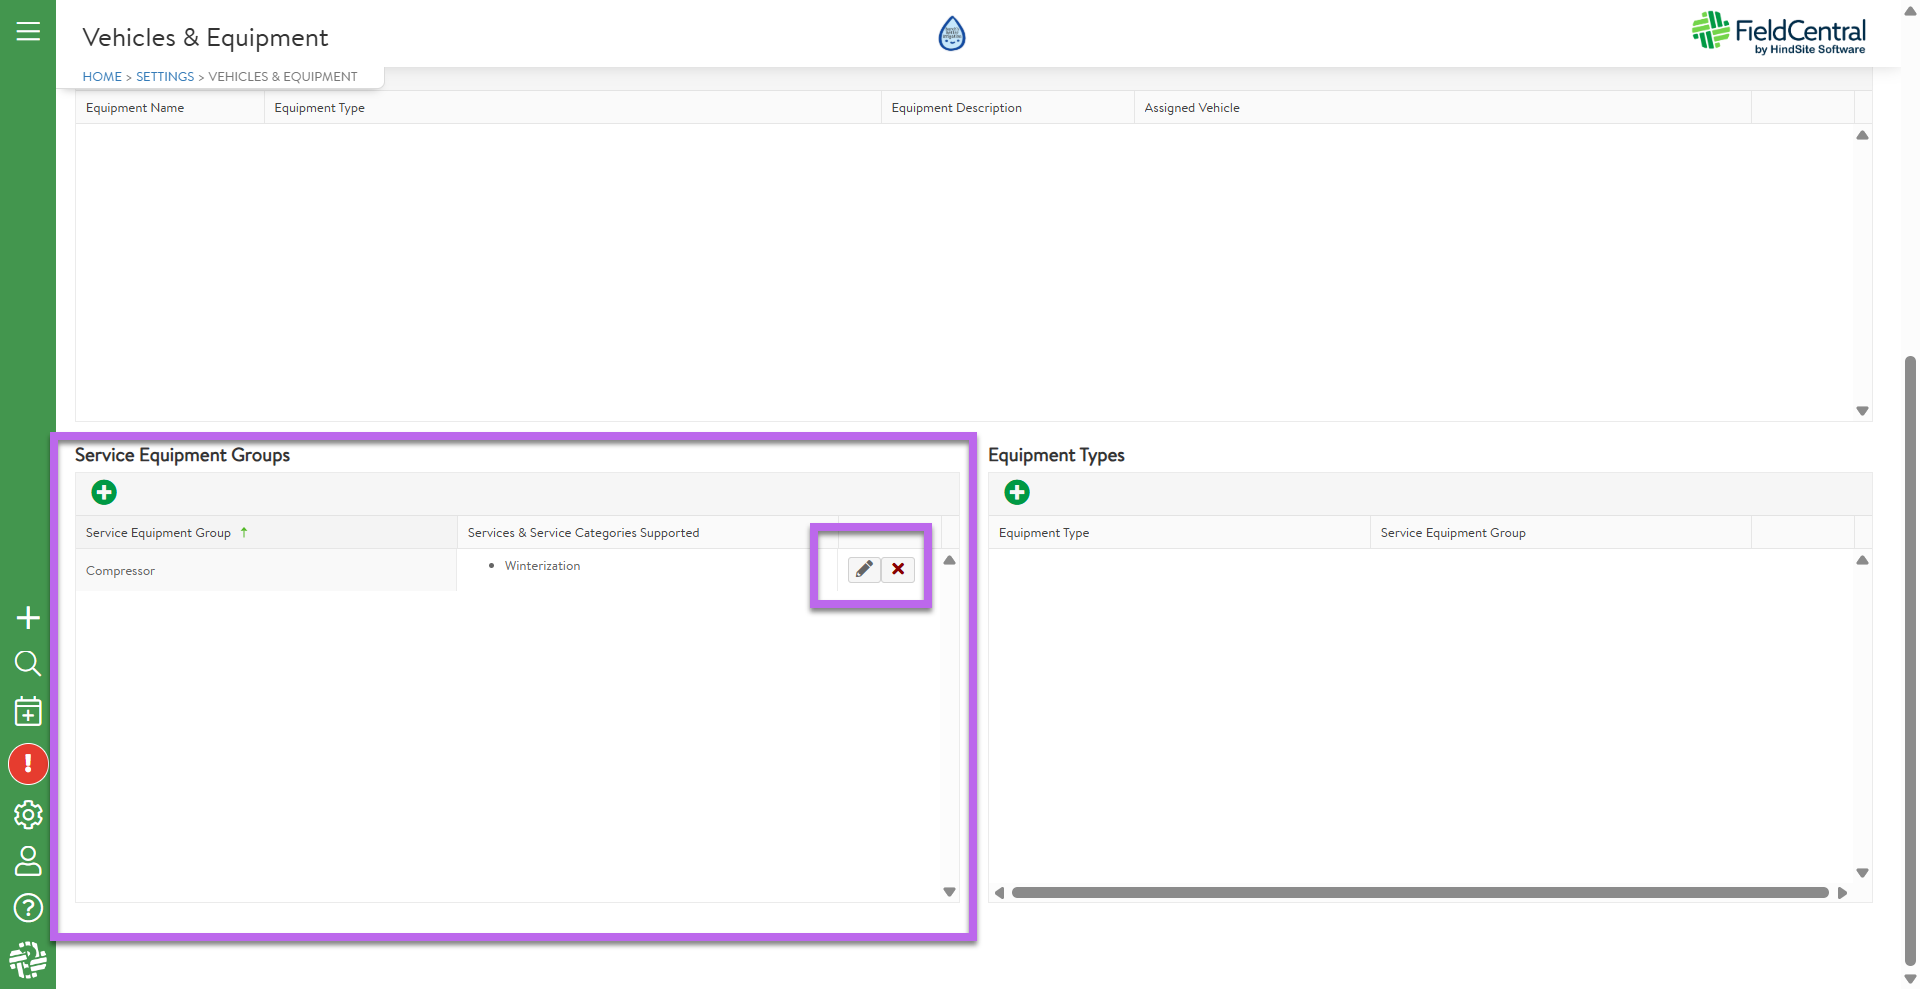
The next step will be to take the “Service Equipment Groups” that were just created and set up what “Equipment Types” would be included. “Equipment Types” will be assigned to properties that require specific equipment to perform the work. To create, click the green + button within the section and a row will become editable.
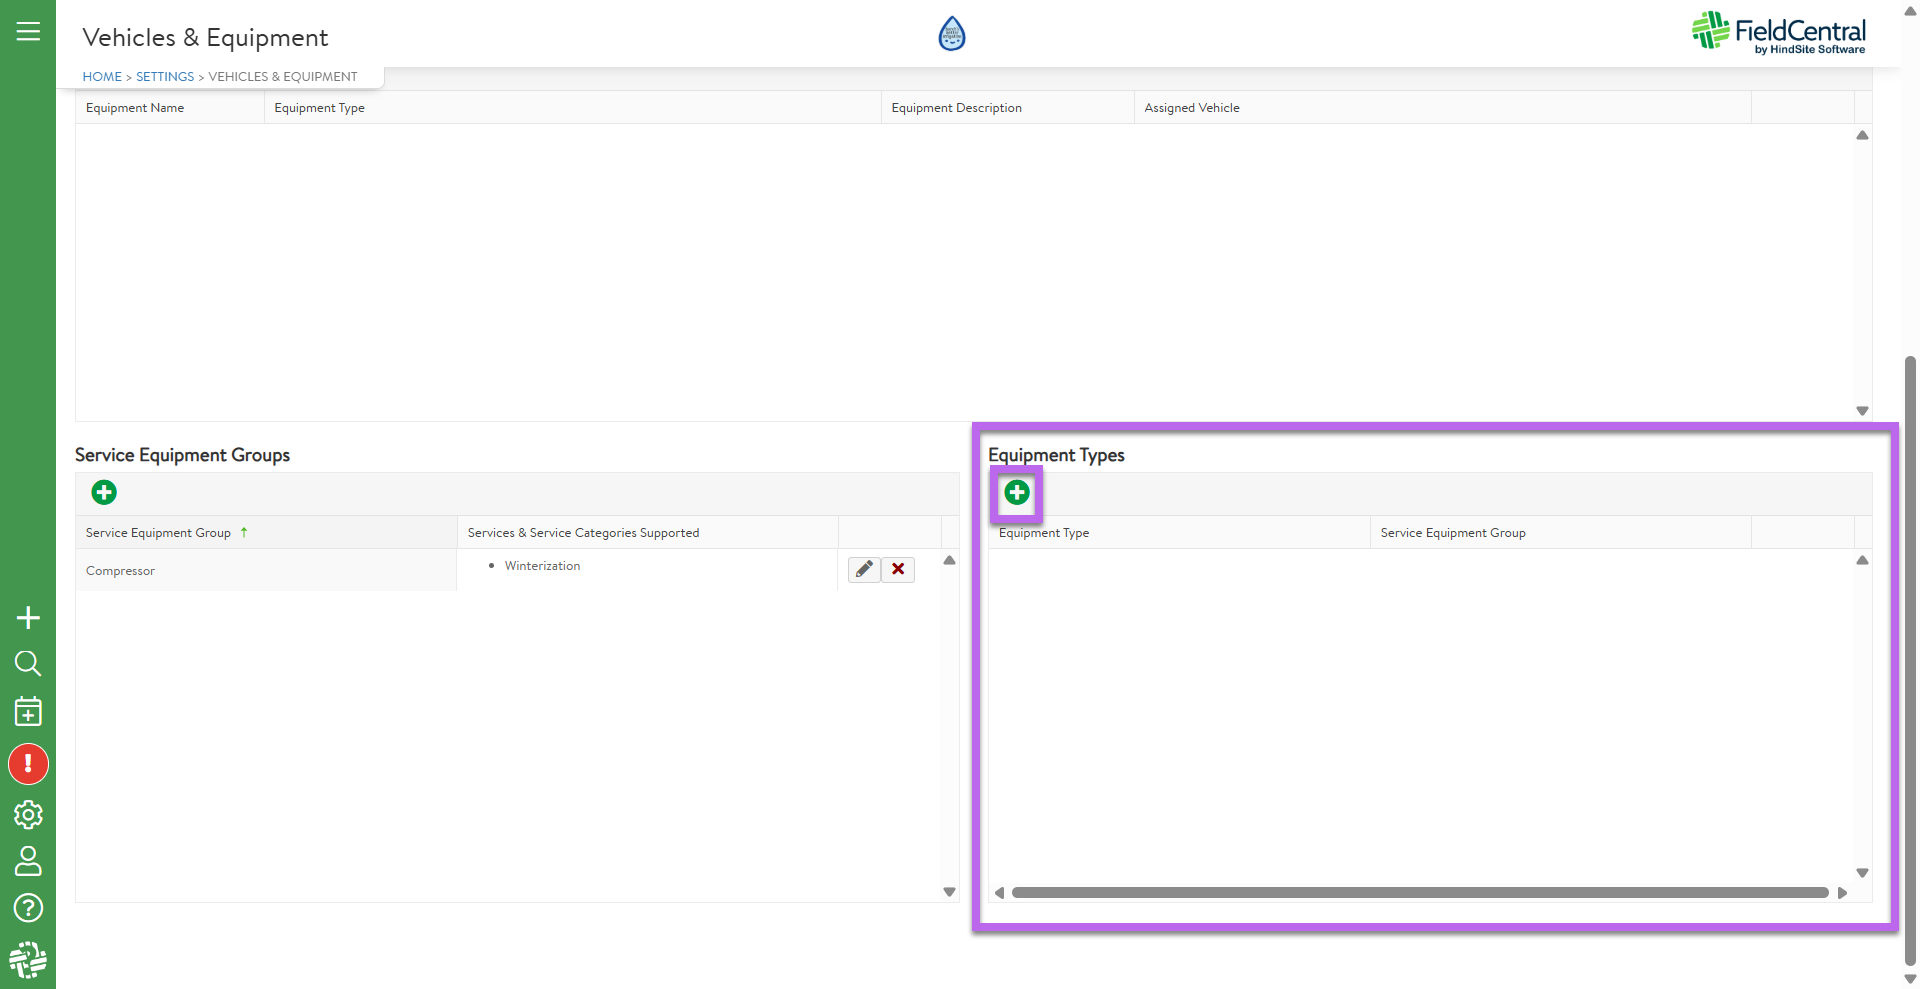
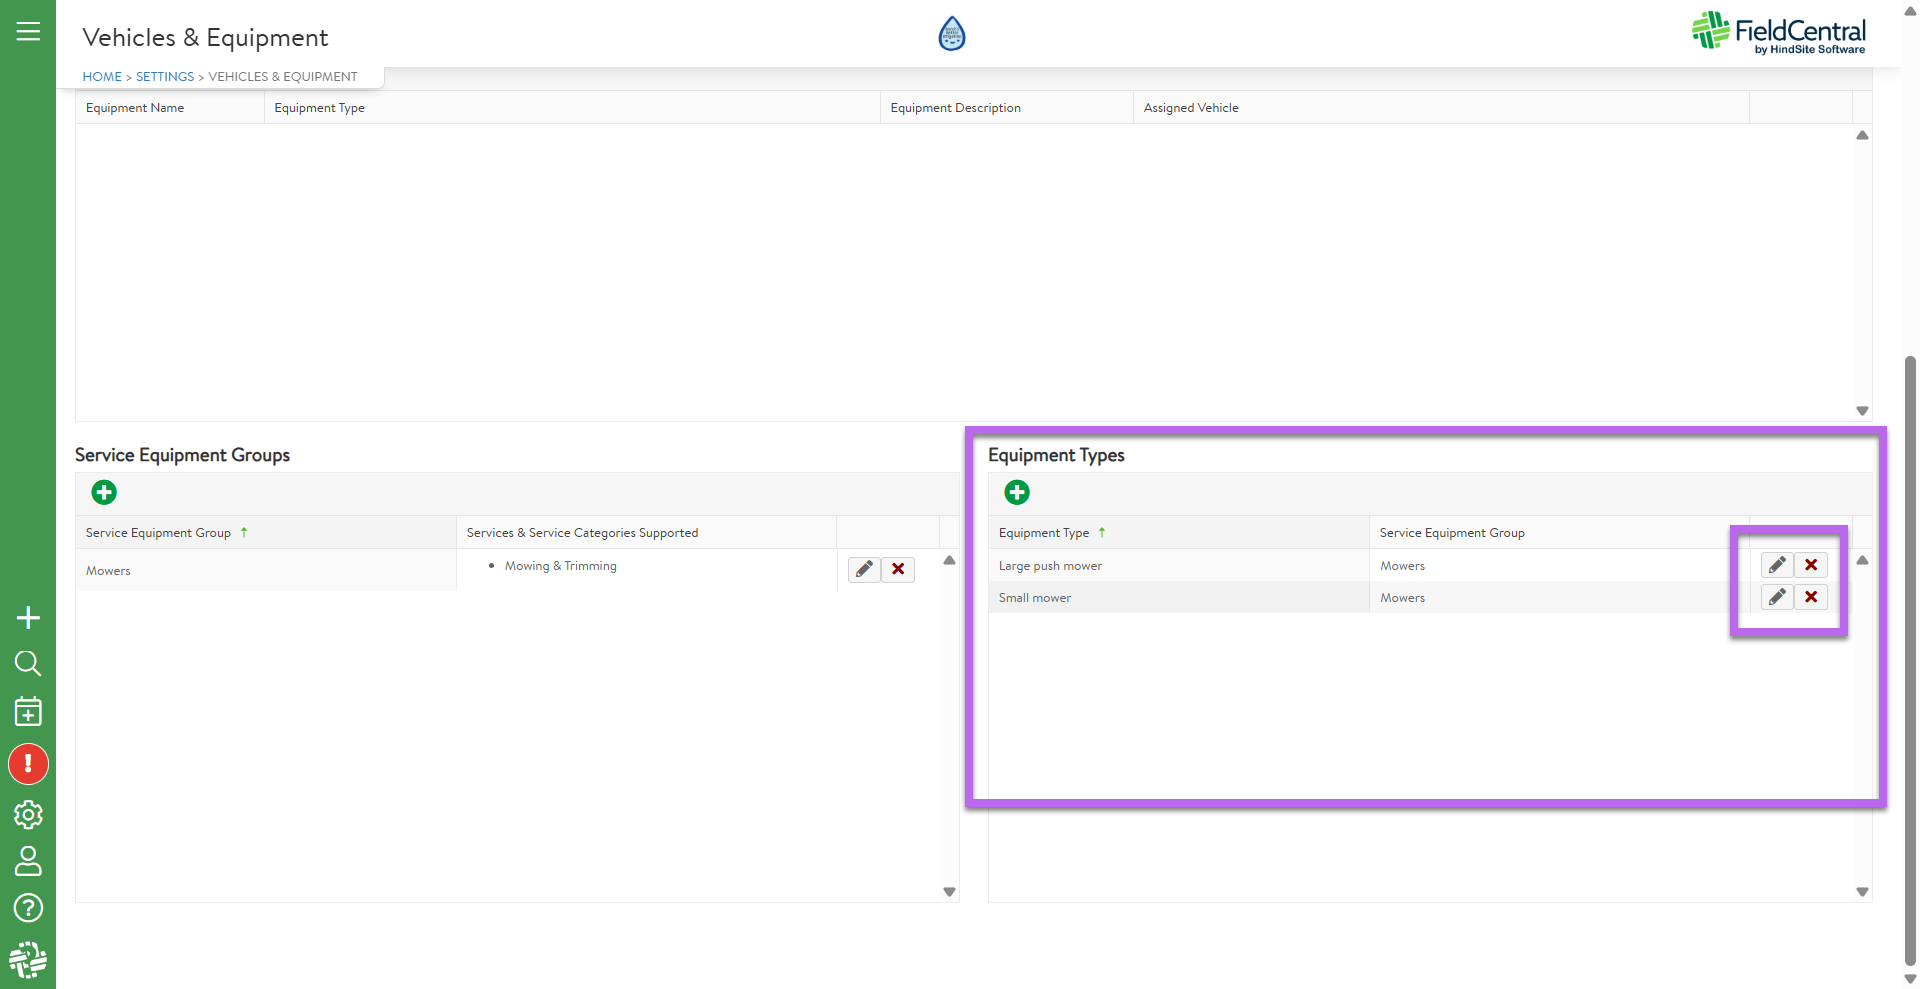
EX: Service Equipment Group: “Mowers” might include the following equipment types:
- Large Riding Mowers
- Small Riding Mowers
- Push Mowers
- etc
The user is also able to edit/delete as needed.
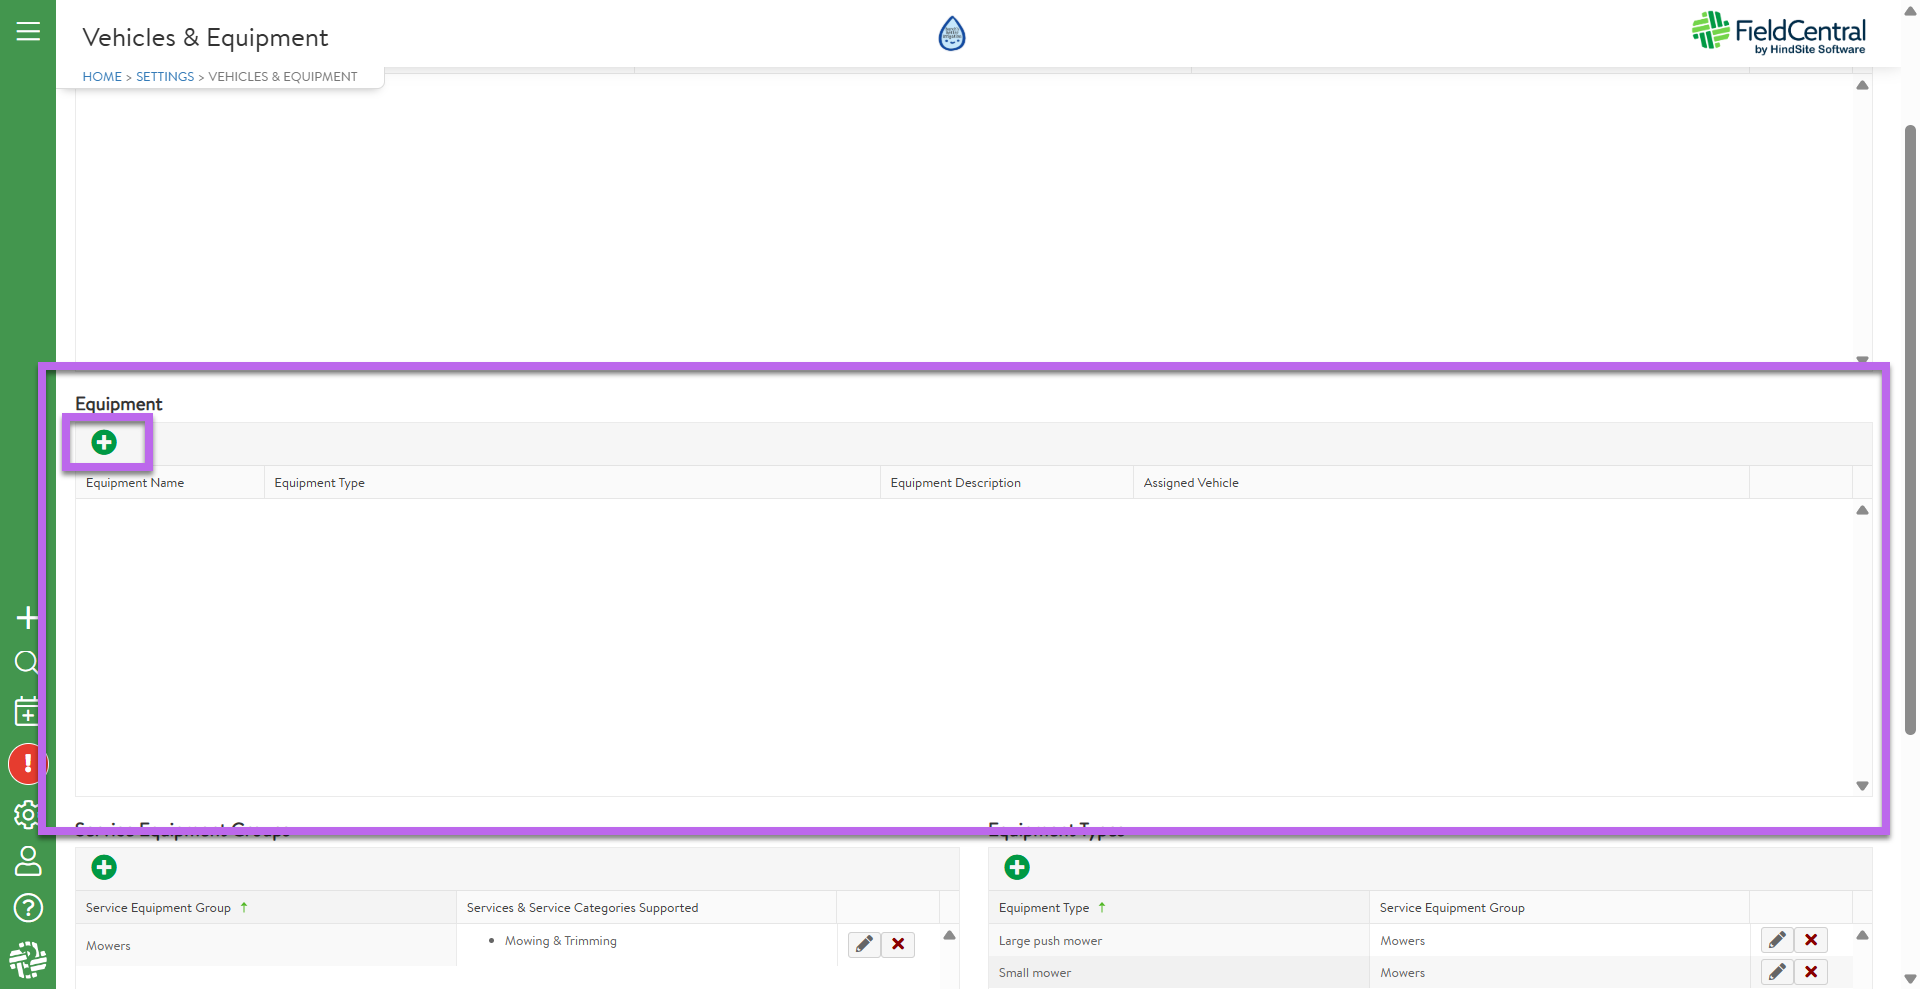
The next step is to log the specific pieces of “Equipment” that live within those equipment types.
To do this, users will again click the green + button within the corresponding section which will make the first row editable.
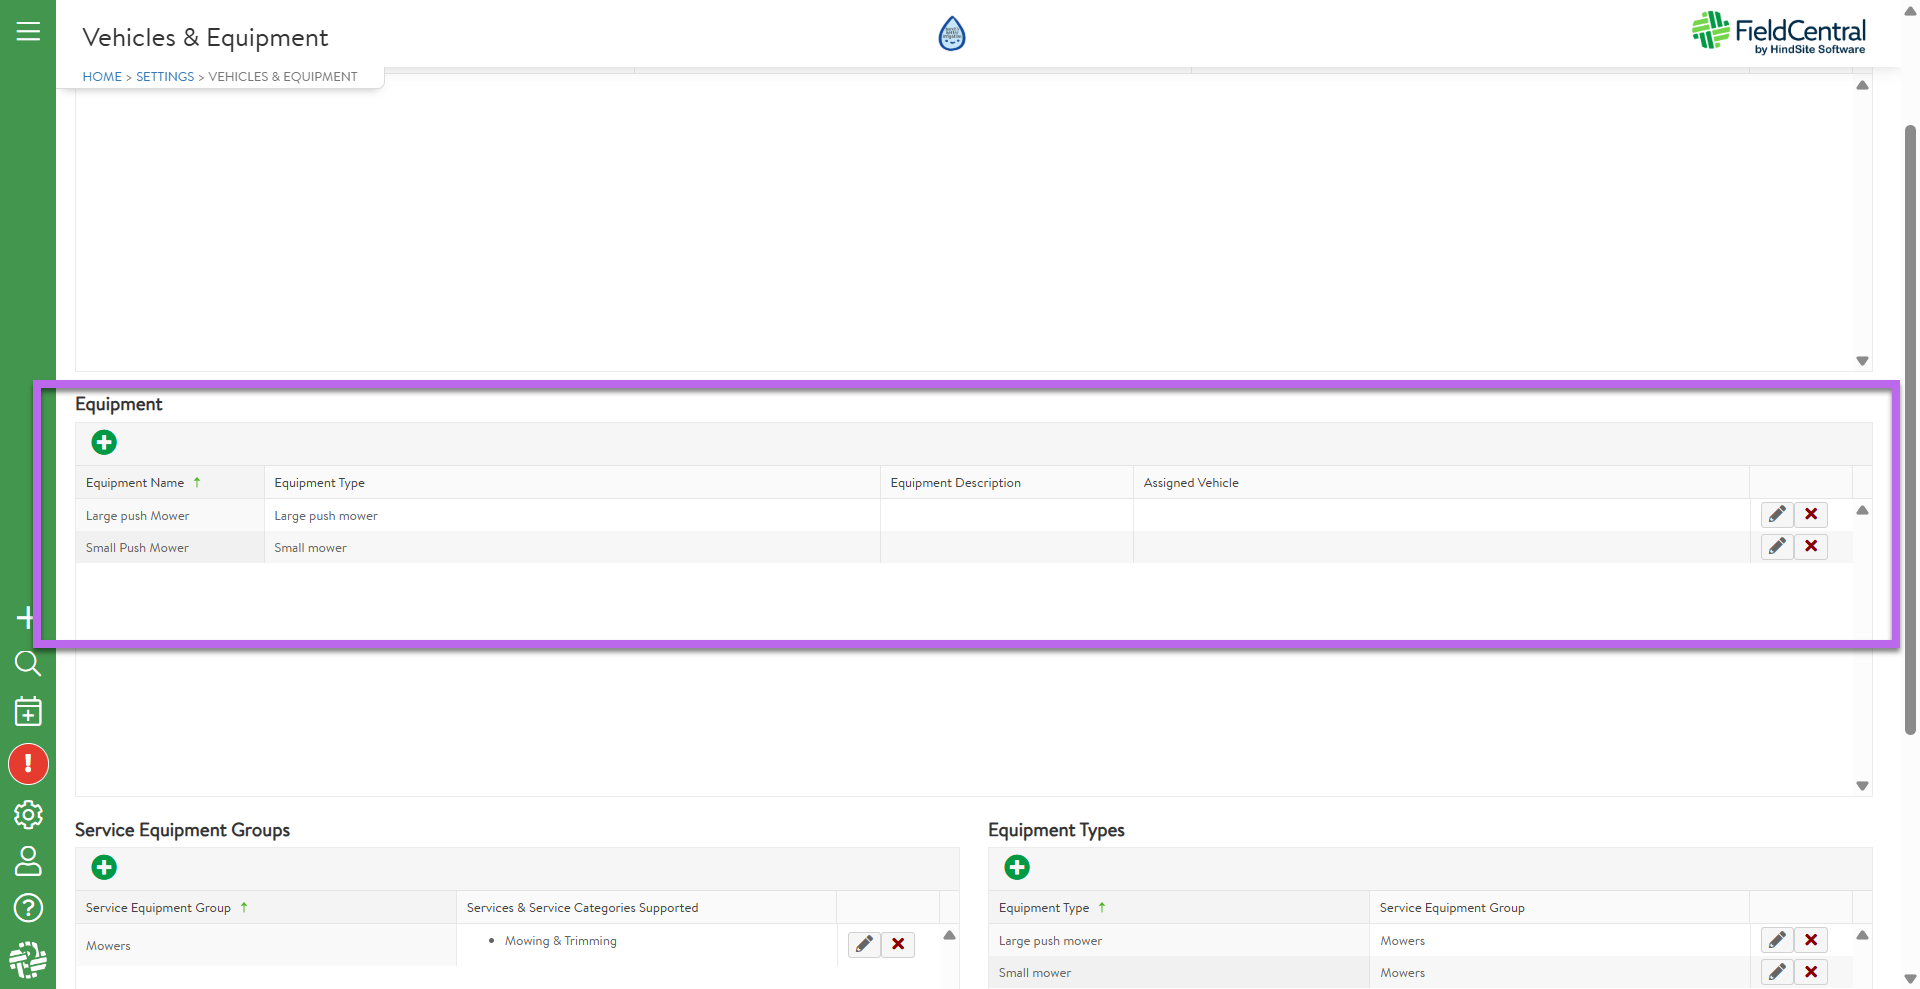
The user will proceed by providing unique equipment names and descriptions and confirming which equipment type they fall under.
EX: Equipment Type: Mowers
- Non-Propelled Push Mower #1
- Non-Propelled Push Mower #2
- Riding Mower #1
- Riding Mower #2
- Riding Mower #3
- Etc
Again, users are able to edit/delete as needed.
And finally, the last step for Vehicles & Equipment Setup is to then create the list of “Vehicles” and map the specific equipment to which vehicle it is on.
Users will select the green + button within the section and provide their vehicles names and descriptions.
Once vehicle names and descriptions are provided users will be able to edit/delete as needed.
**If enrolled in our Azuga GPS integration, you also may notice an Azuga vehicle drop down for your vehicle records. For details on how to setup the vehicle for GPS tracking, pleas refer to our SETTING UP VEHICLES WITH AZUGA article**
Additionally, they are now able to assign the equipment to the specific vehicle by clicking the “Assign Equipment” icon.
The following window will open for the user to assign from the equipment list created.
On the far left hand side will be the list of all equipment available based on the user's setup to this point.
To assign, simply click the equipment and drag to the desired vehicle.
The equipment will be removed from the “unassigned equipment” list and added to the selected vehicle.
Continue this process until each vehicle has the appropriate equipment assigned to it. Once complete, click “Save & Close”.
NOTE: Vehicles will need to be assigned to their appropriate crews for this feature to be helpful when scheduling services. This will be done within the “Settings > Crews” section of the platform. The user will select which crew they would like to edit and then select from the drop down menu of vehicles for which they are assigned to.
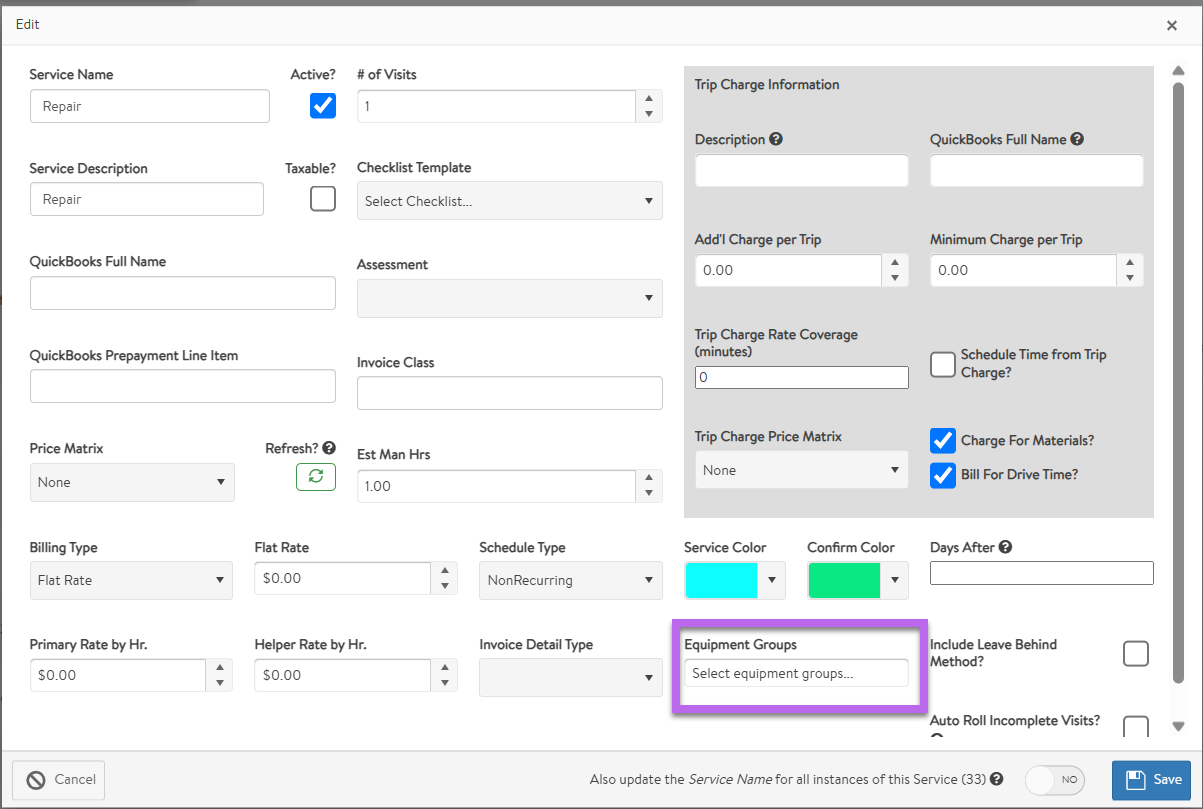
Once Service Equipment Groups are set up within the “Vehicles & Equipment” section, users will also be able to assign “Service Equipment Groups" directly within the Service. This will especially come in handy when adding or editing existing Service and need to make any adjustments to the corresponding equipment groups.
Additionally, if a property has any “Equipment Type” needs, this can be set at the property level within the “Property Overview”.
- Example shown below is clarifying that this property needs weed eaters when a mowing service is scheduled.
- Another example would be if a property has a small gate and would therefore require a push mower as opposed to a riding mower.
- If needing to add this information in mass, “Property Equipment Type” is also an included field when importing “Properties” within settings.
When all setup is complete, users will be able to leverage this information when Scheduling and the RouteBuilder.
From the “Schedule” page users will be able to see when a crew is assigned to a vehicle with specific equipment by the icon next to the crew's name.
If a property is placed on the schedule that has any specific equipment type requirements these will be flagged with the exclamation icon within that schedule block.
If a service is placed on a crew’s schedule & their assigned vehicle does not have the equipment needed, an alert icon will appear on the corresponding Service with a warning message.
The same warning icon will appear next to the crew's name. This notifies the user that there is a Service on their schedule that cannot be completed because the assigned crew does not have the right equipment
For the RouteBuilder, these alerts will help users to ensure they create routes for the right crews. This will help prevent issues when placing the routes on the schedule.
If your crews/vehicles have different equipment and specific properties that require certain types of equipment, setting up your company's vehicles and equipment could help save you and your team time and headaches. Knowing ahead of time if a scheduled Service will be able to be completed by the assigned crew allows users to take immediate action to resolve if needed and prevent wasted time.
